Sunday, December 6, 2009

12/5/09

Suspension parts and stainless have been sent out. I'm having the upper and lower control arm ball joints re-riveted on original control arms. Should have them back in a few weeks. Sent all of the stainless trim to a place in South Carolina. Hope to have that back soon too!

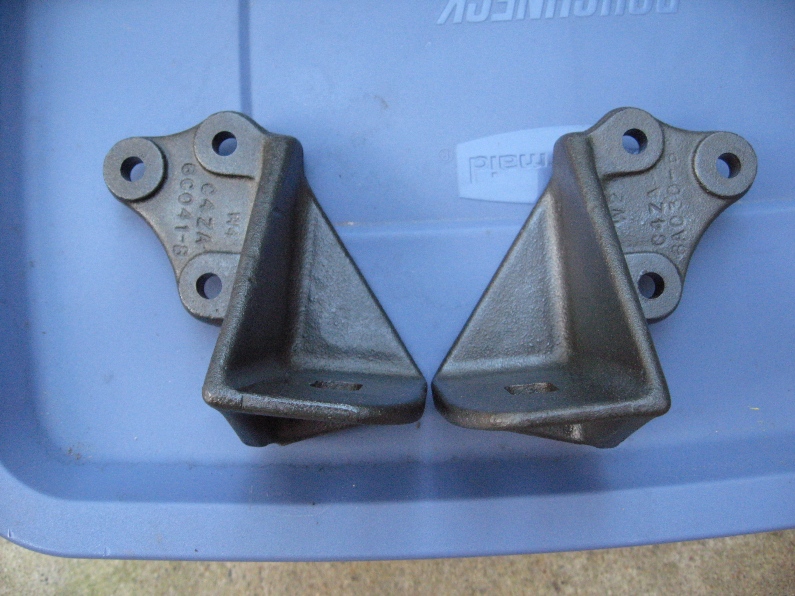
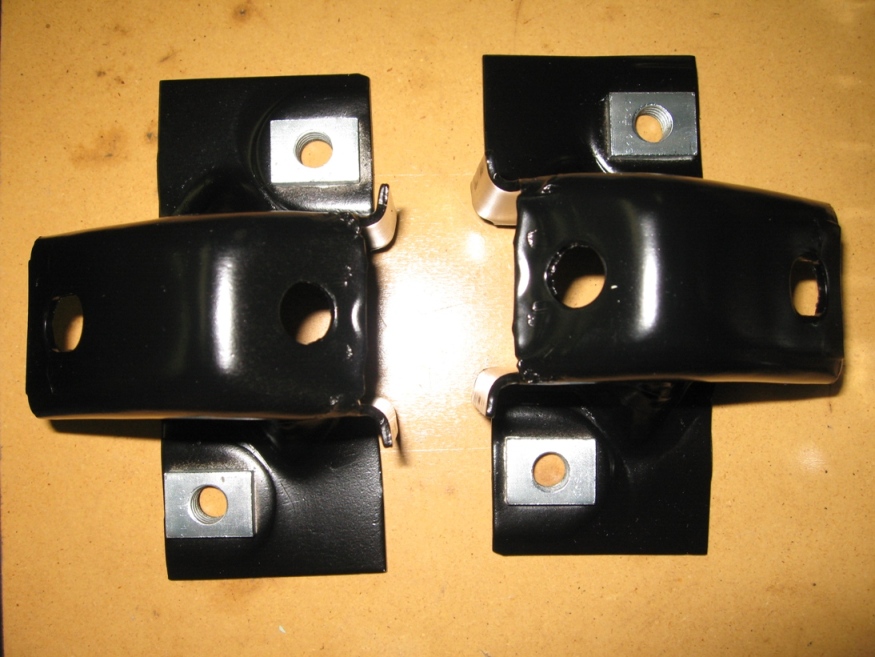
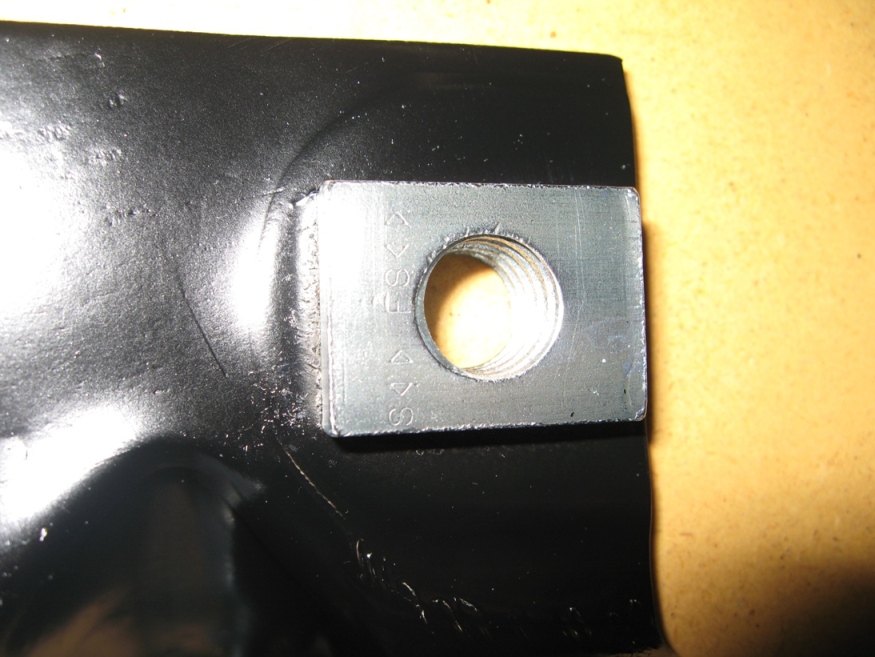
In the meantime, restoration continues. Here are some restored rear bumper brackets. The captured sleeve nuts were originally zinc plated. To do these properly, the whole bumper bracket can be zinc plated and then the sleeves taped off for paint. The original sleeves have a unique number stamped on them too!


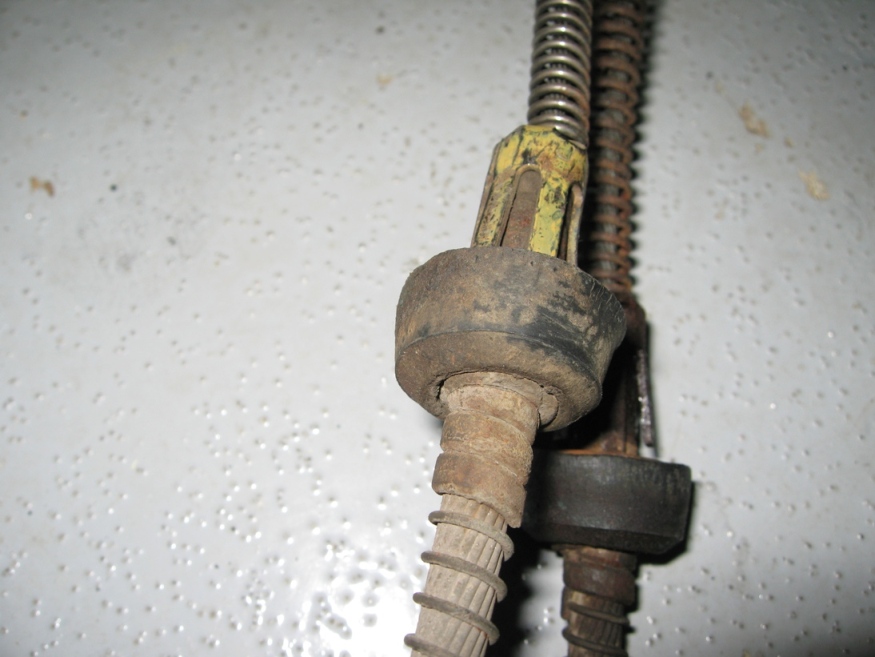
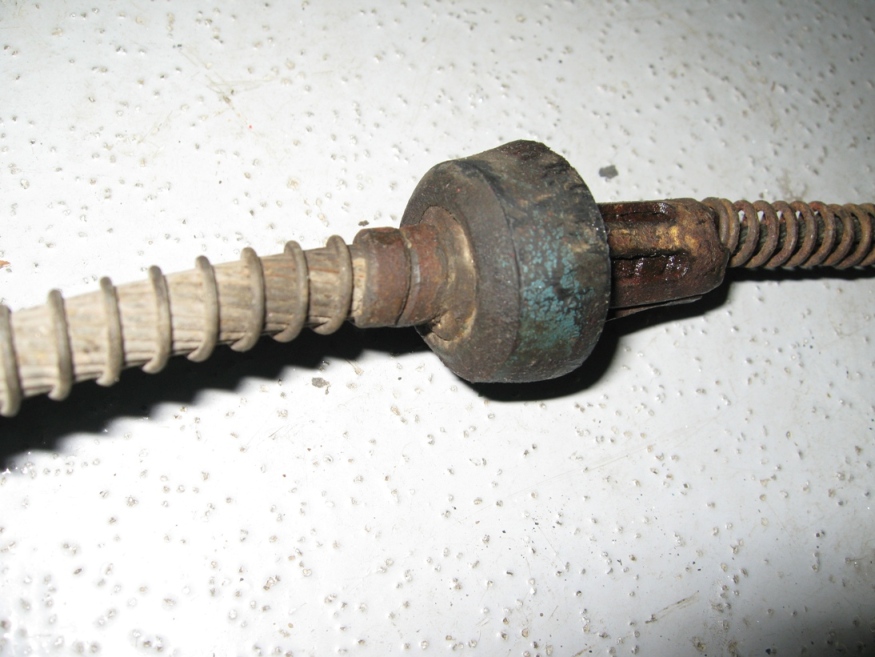
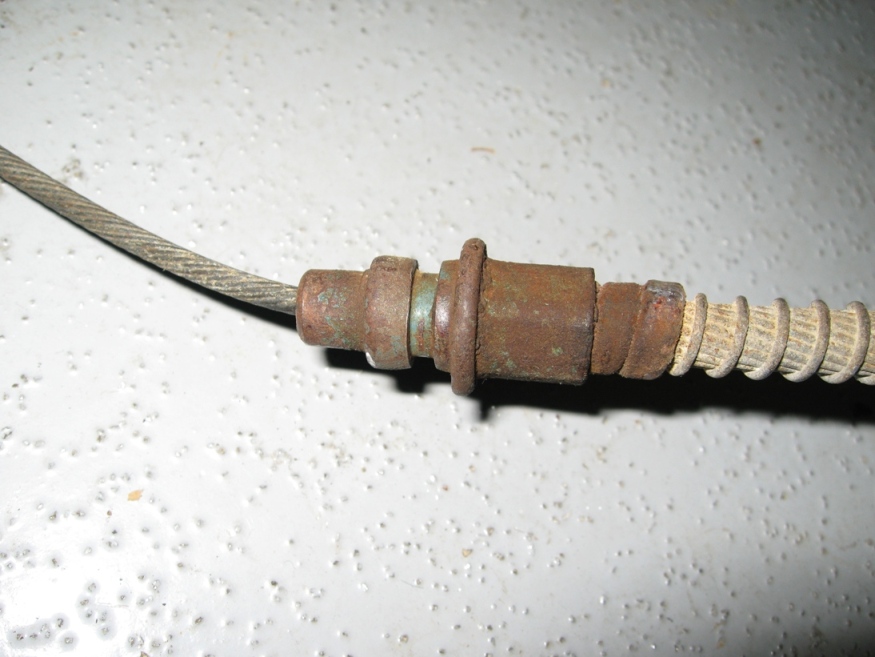
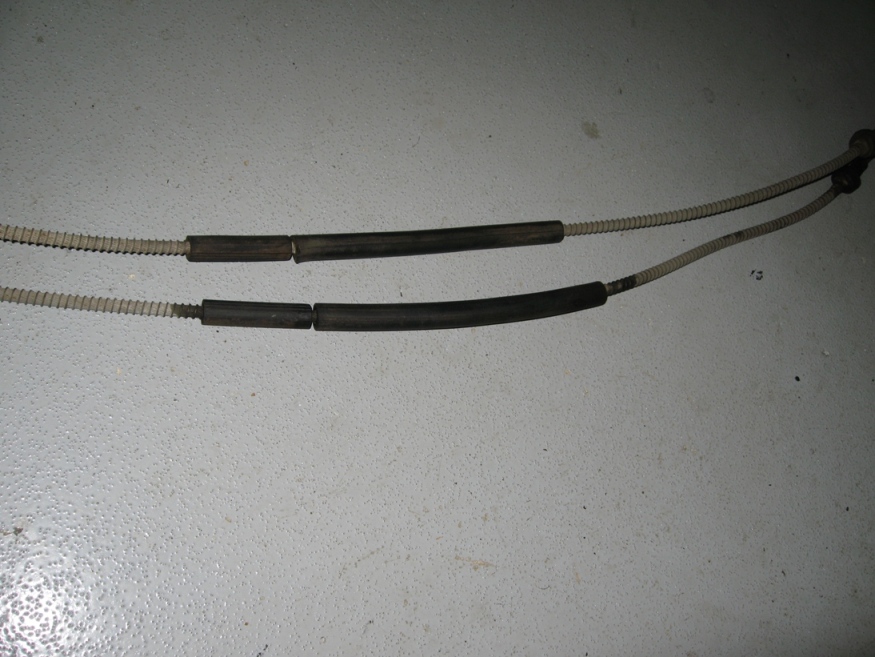
Decided to get the parking brake cables out. Found out the NOS ones are a little off in appearance and the rubber insulator detailing. So, will be sending these off to be tumbled. They should clean up fine, were not rusty. Found blue paint on the conduit ends and also the same blue on the rubber grommet. The prong clip was yellow.


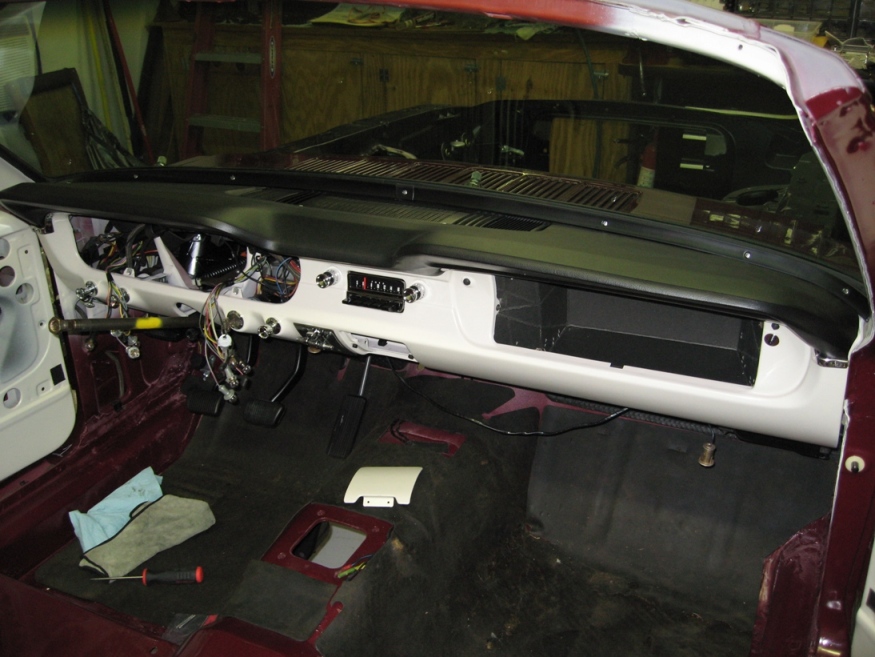
I decided that I was not happy with the original windshield and found out about a local business that can buff glass. I had them do the windshield and some side pieces. It is a big improvement! Windshield was re-installed. Dash moldings and speaker/defroster grill installed.


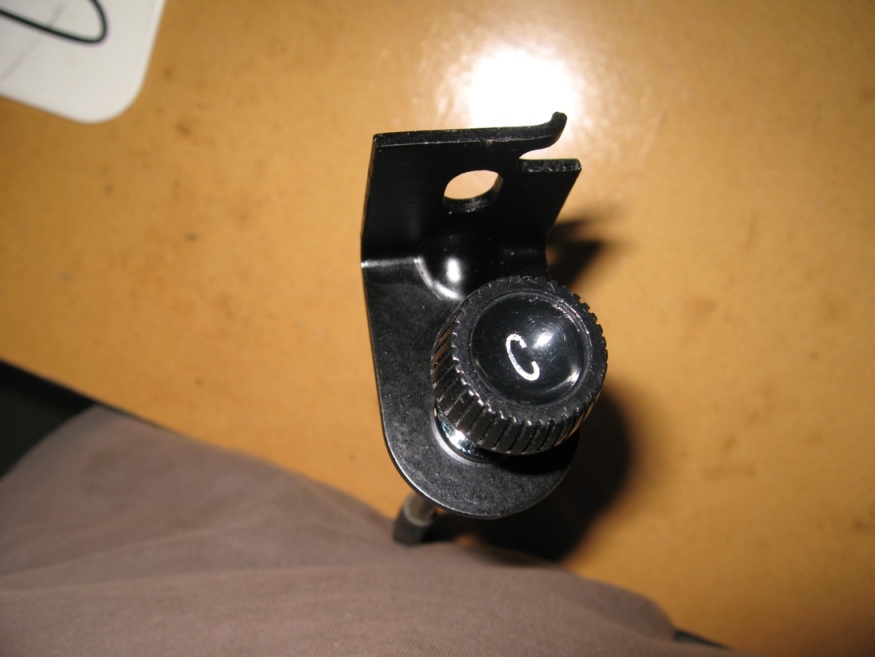
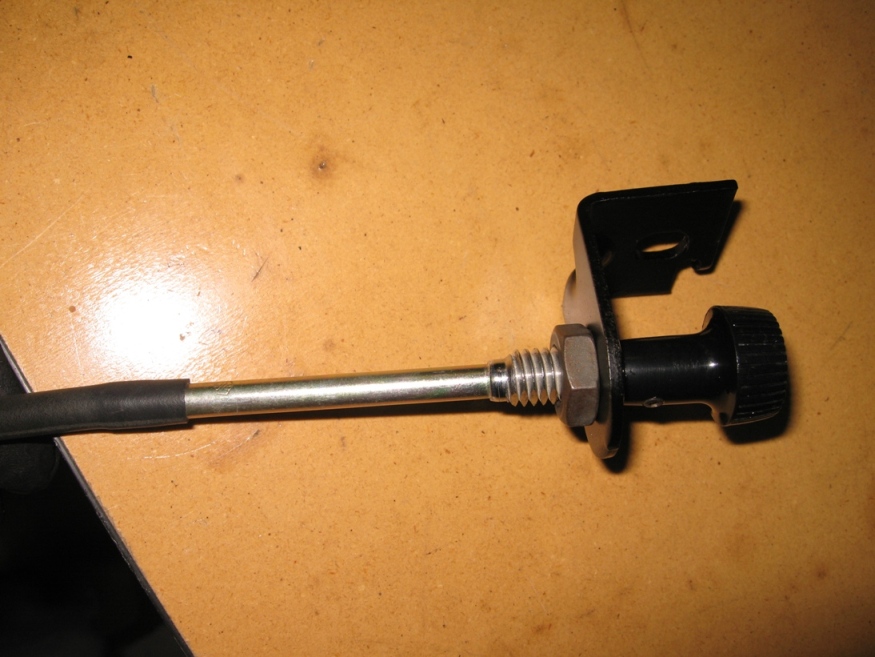
Next up is the choke cable. I was able to find an NOS cable, but had to restore the mounting bracket and re-use the original knob. Turned out nice:


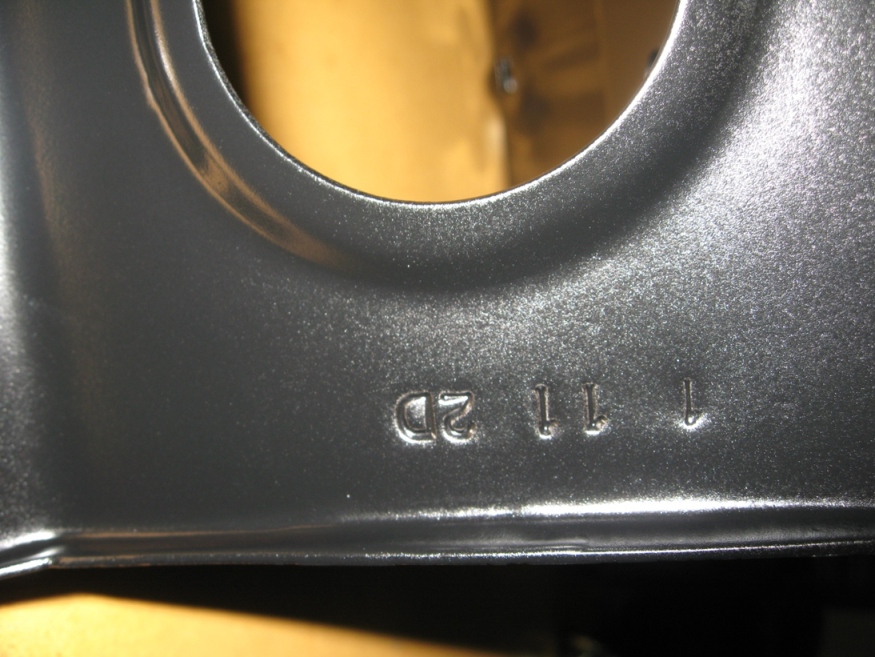
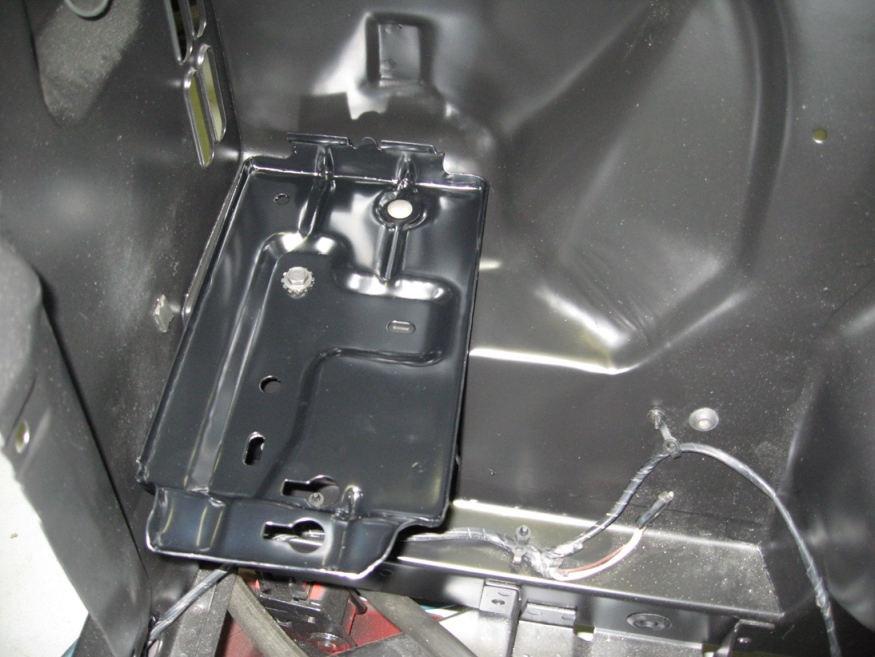
Last detail is something that would very rarely be seen on a restored car, which is an original date-correct battery tray. Most battery trays are eaten up with rust over the years. The battery tray is made of 2 sections spot welded together. I was able to save the lower piece which has the date and have it welded to an NOS top piece. Turned out great!


12/1/09

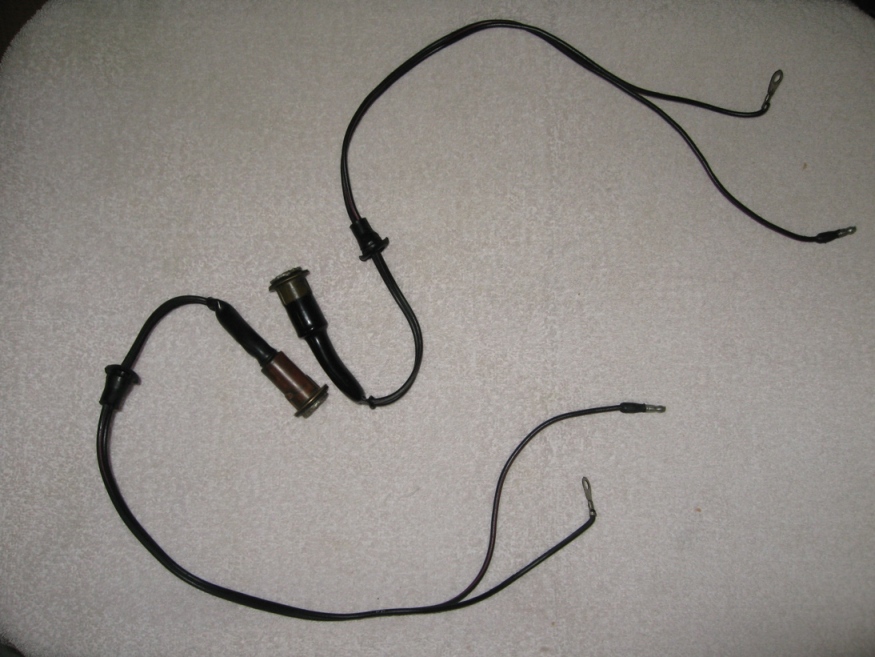
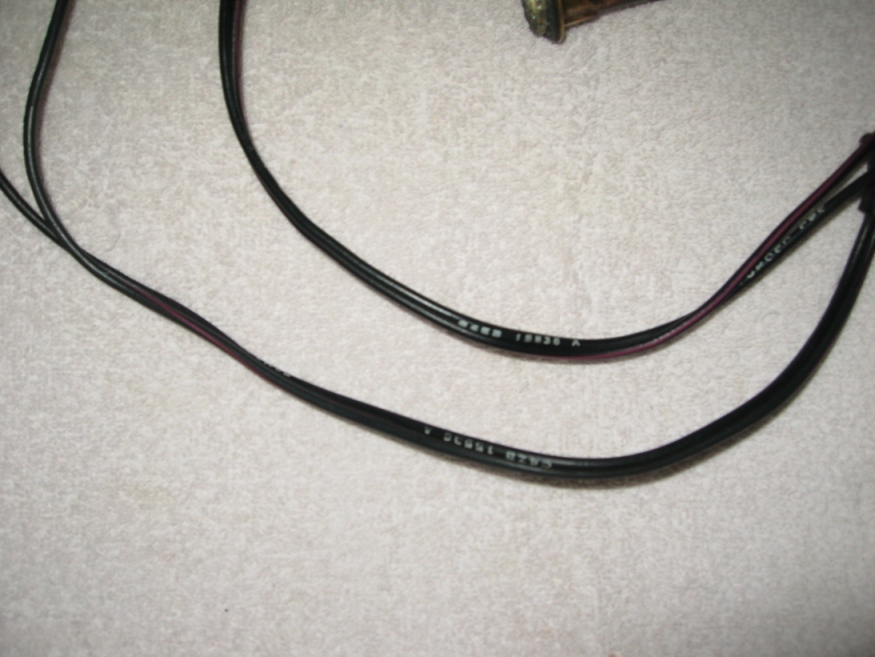
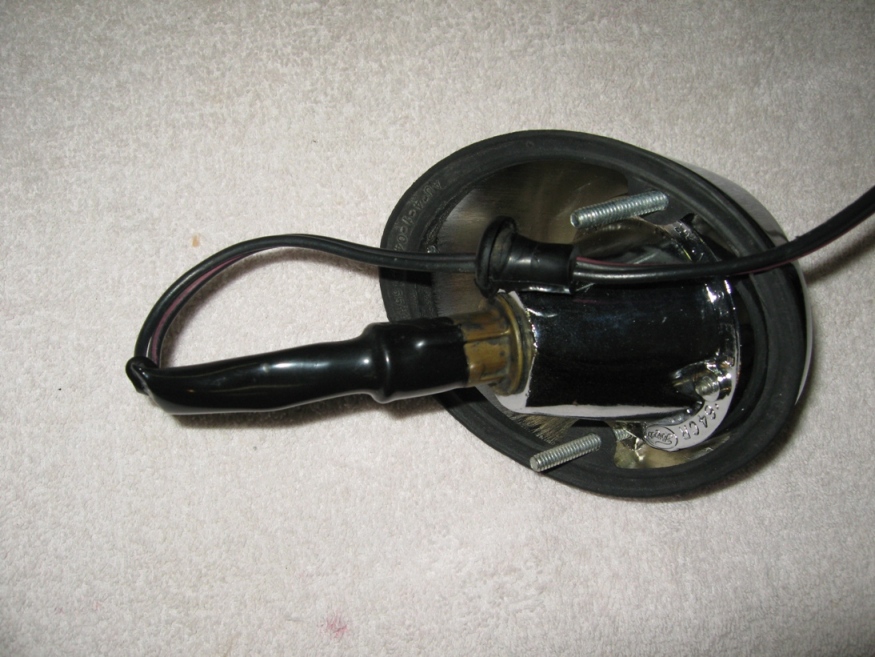
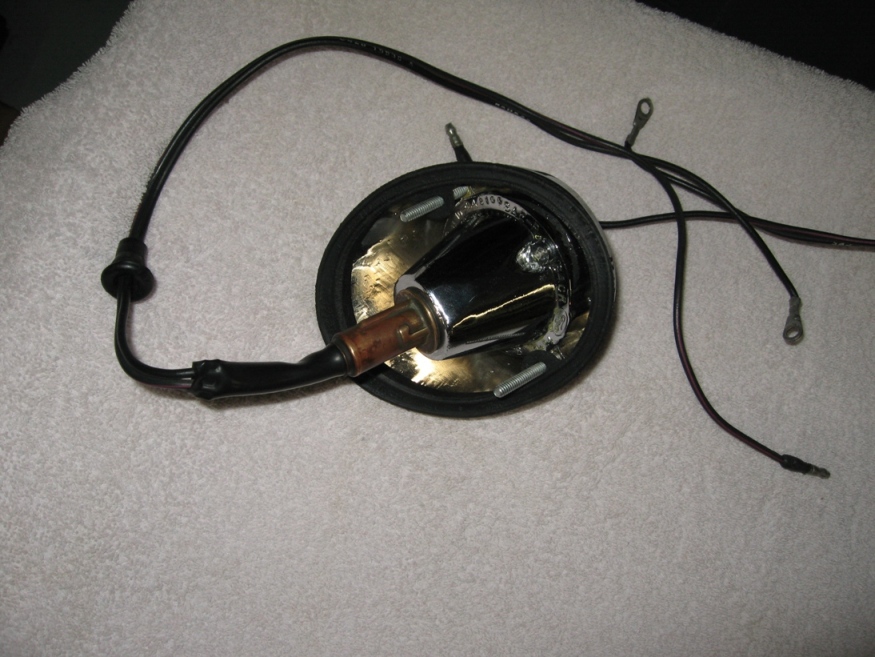
A little more assembly progress, mainly to the rear of the car. Transferred a nice set of original back-up lamp wires to an NOS set of housings. The later Ford service parts have some details that are a little off, so I chose to go with original wiring that was in great shape. To do this, the sockets have to be removed from the originals. This is time consuming, but can be done.


Here's a nice "rear" shot. Valence is completely finished with backup-lights installed... NOS gaskets, lenses, etc... Bumper guards are also installed.


Saturday, December 5, 2009

11/23/09

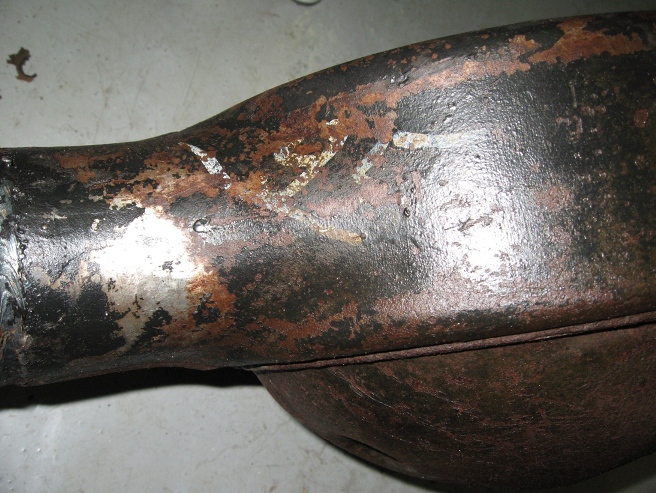
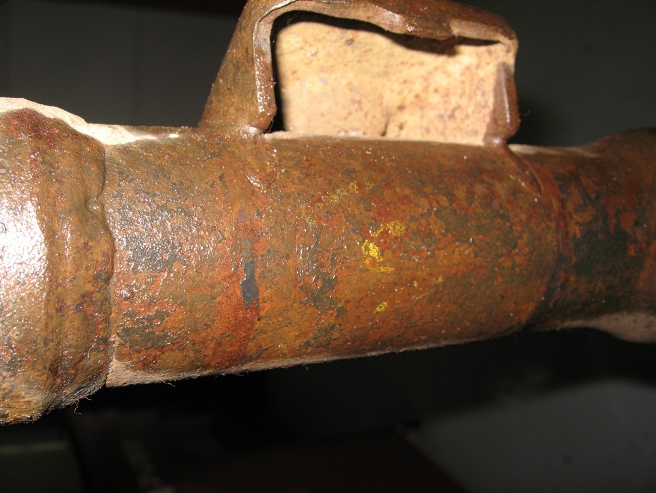
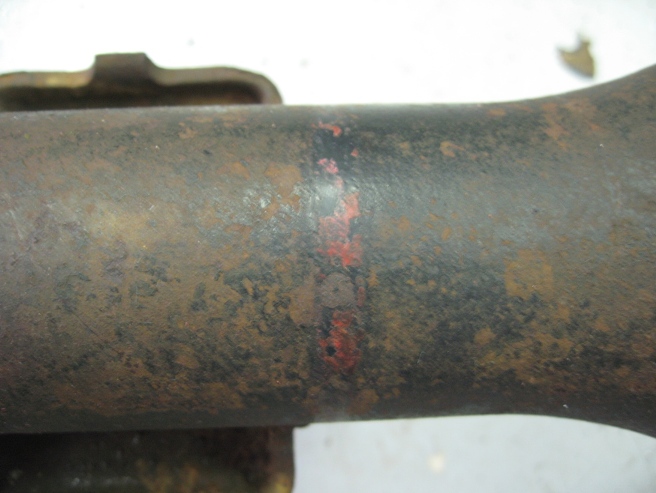
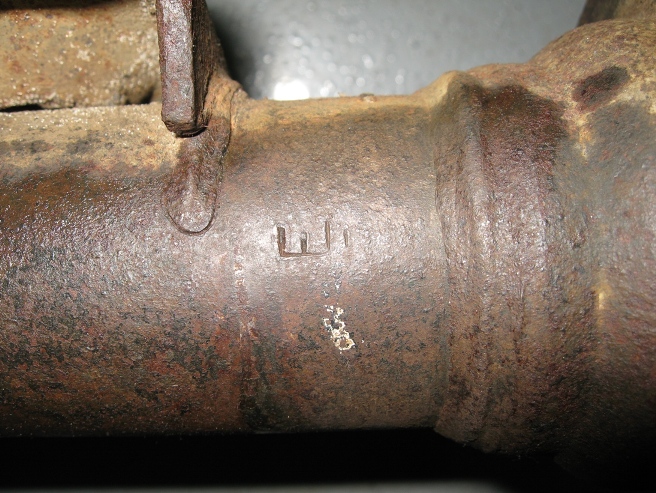
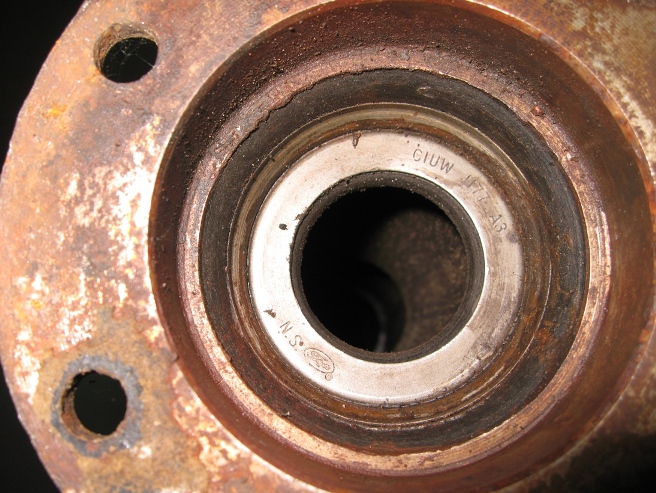
Cleaned the original rear housing, looking for paint marks. Found a weird '5E' or maybe '3S' on the side of the middle. Not much other than that. A yellow number, possibly a '3' on the step-down. Red where a clamp was and a possibly the remnants of a white check mark near the fill plug. Did find a cool 'E' stamped into the RH step-down. The rear has been sent out for cleaning/stripping.


One of the original axle seals was still in place:


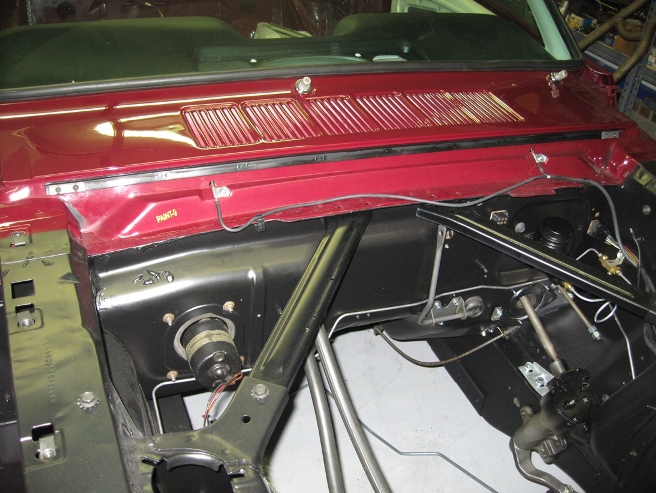
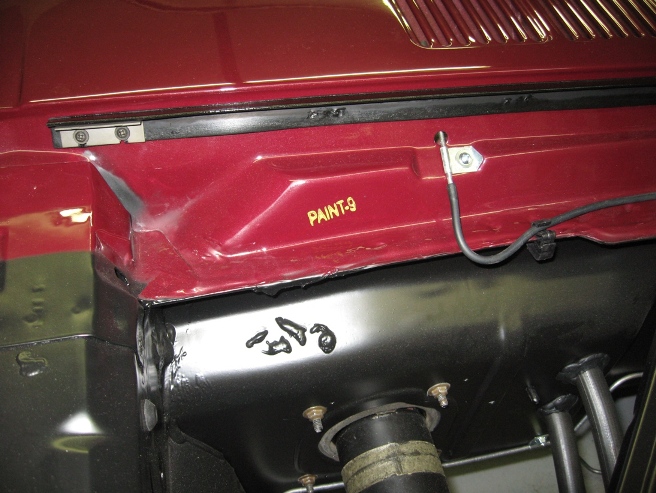
A really cool detail item which I doubt very many restored cars have is an original hood to cowl seal. These are notorious for cracking and breaking apart over time. I was actually able to salvage a really nice one from the red parts coupe. Original retainers were phosphated along with original screws.


With that fancy shmancy hood seal, had to add a little more "bling", so went ahead and applied the paint inspector mark. For those not aware, this is the proper style paint inspector stamp for a San Jose car built at this time period.


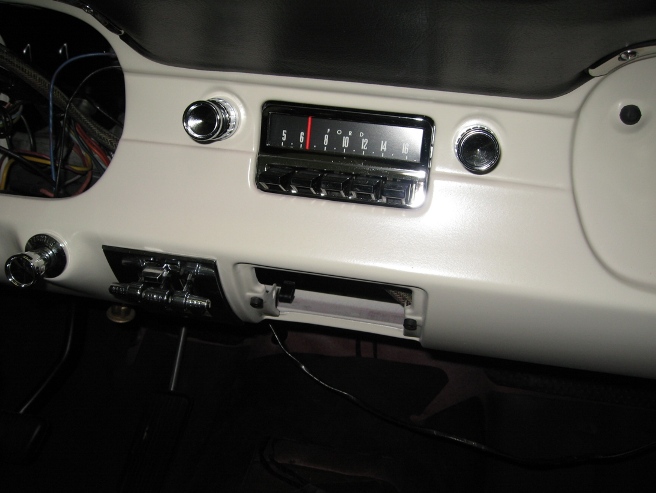
Next up is more "bling"... an NOS AM radio! I had a terrible time finding an original with nice enough buttons so threw in the towel and bought an NOS piece. The car is very deserving, so what the heck.


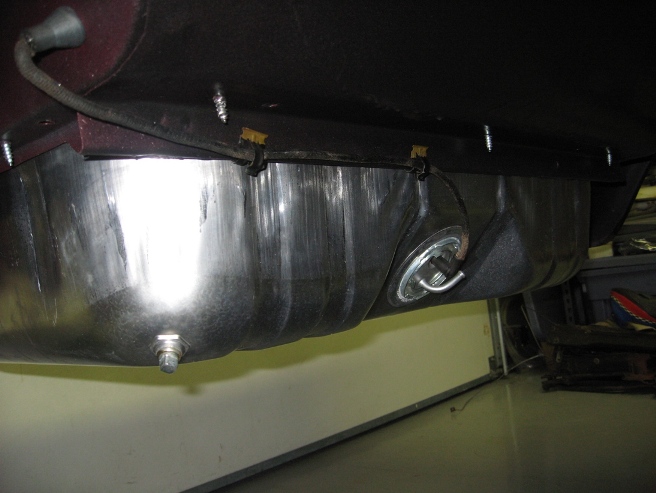
Last item is the fuel tank. Got it installed with an original C4ZF sending unit. Note original clips for the sender wire. The wiring is restored original.

Sunday, October 4, 2009

10/4/09

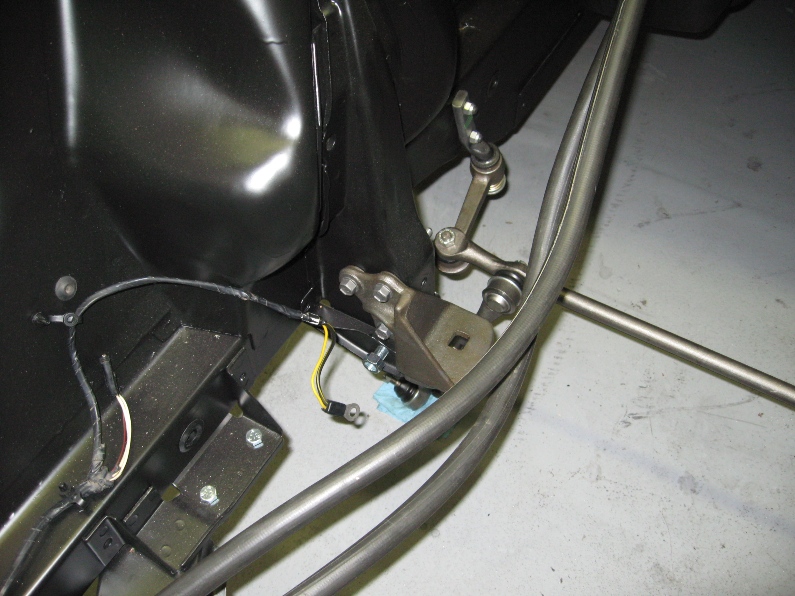
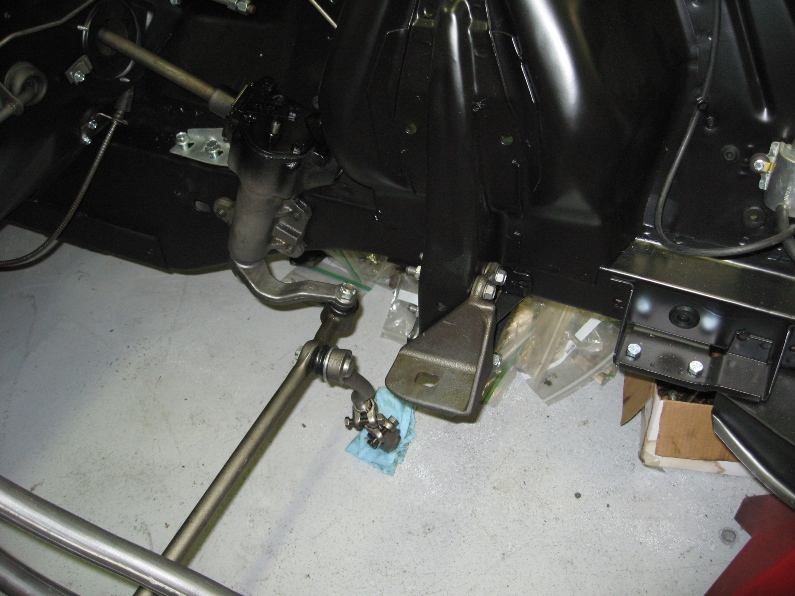
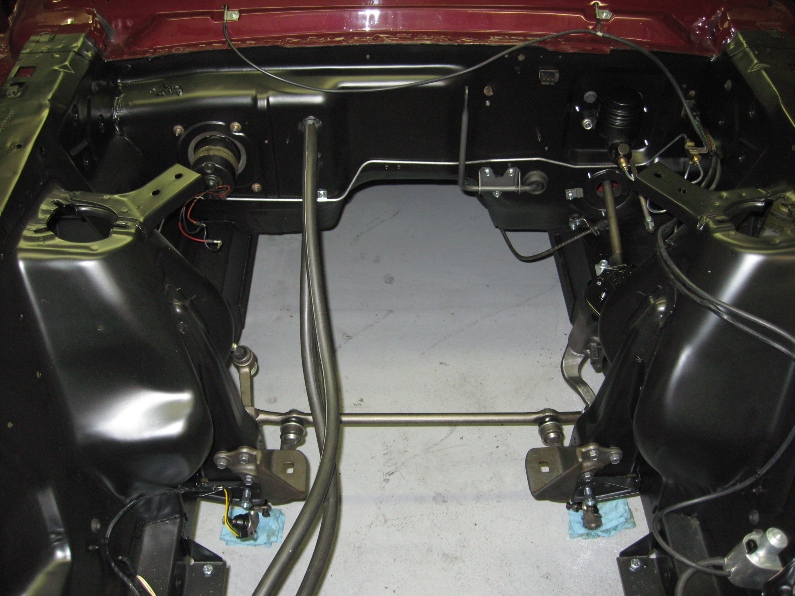
More assembly progress. Steering box is now installed as well as the steering linkage. The steering linkage is composed of all NOS, period correct pieces. Original idler arm bracket was detailed and green paint daub applied. Engine mounts were installed along with original restored fasteners. Spent the remaining part of the day stripping/painting suspension parts such as the coil spring covers and front brake backing plates.


10/3/09

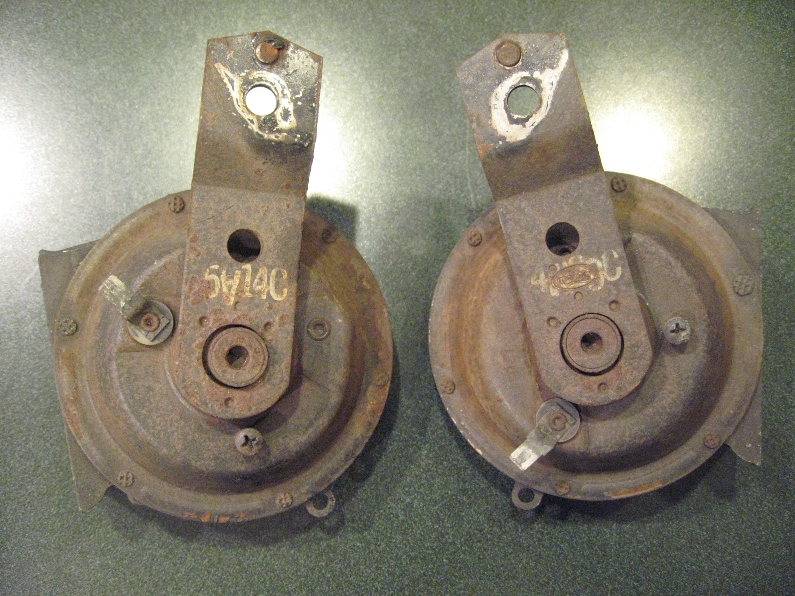
After spending a few days organizing parts and zip-lock bags from the bins, I now am able to move quicker on restoration of the K convertible. First up today is a picture of the original horns. Evidently, there were different date formats and locations used throughout production in '65. What's interesting about these date stamps is the upside down month codes. I have a good template of these stamps made and plan to get rubber stamps done locally. The horns are already cleaned/painted.


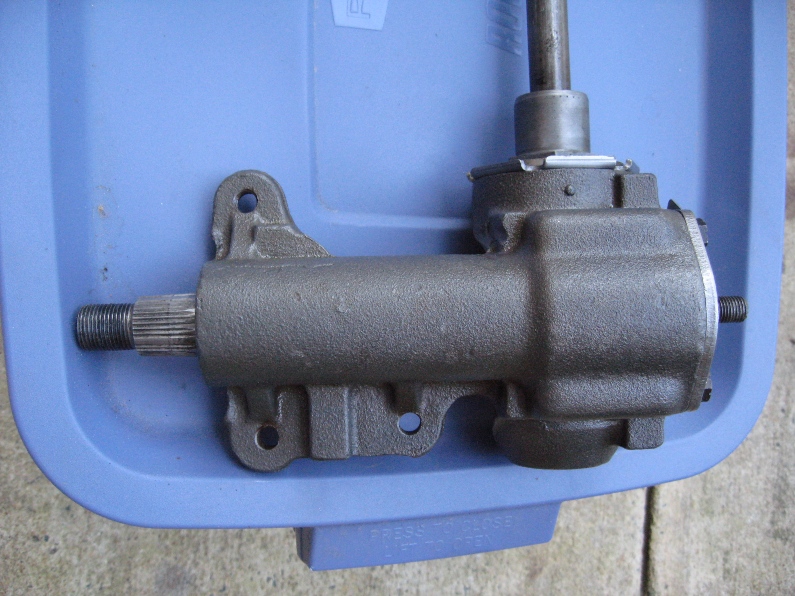
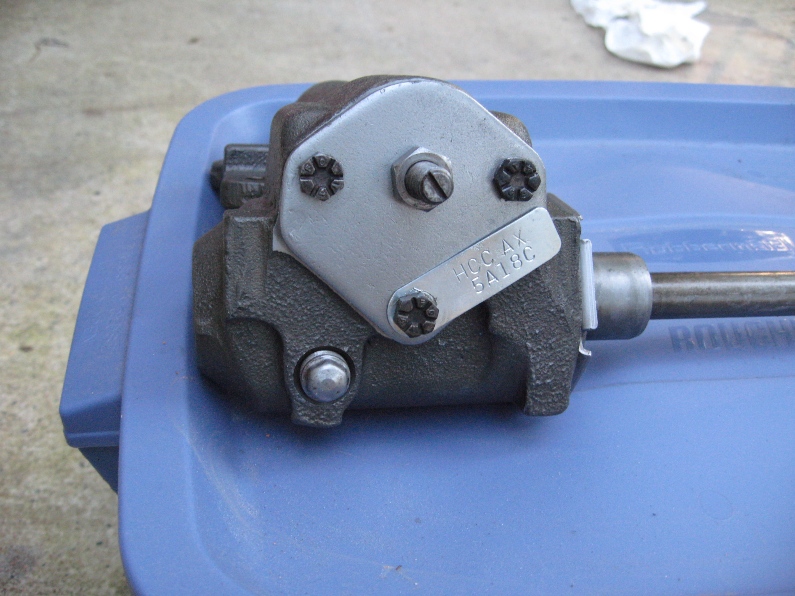
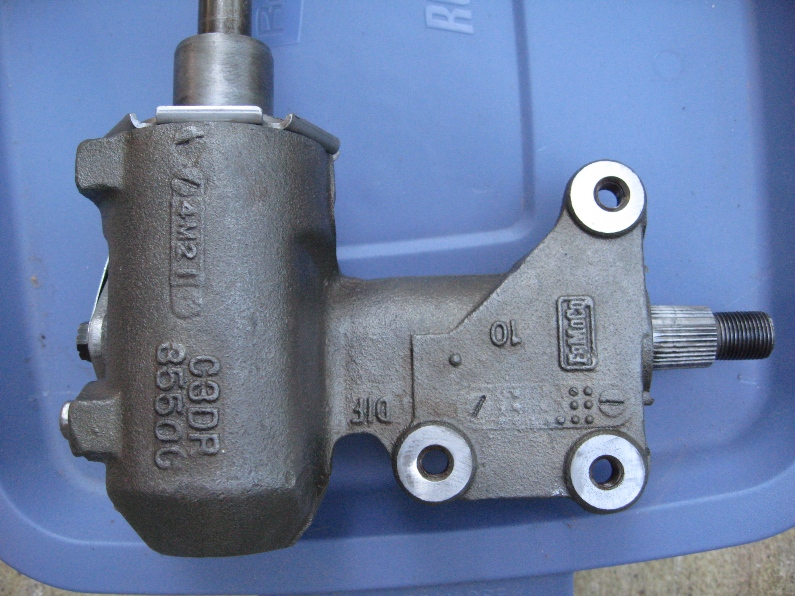
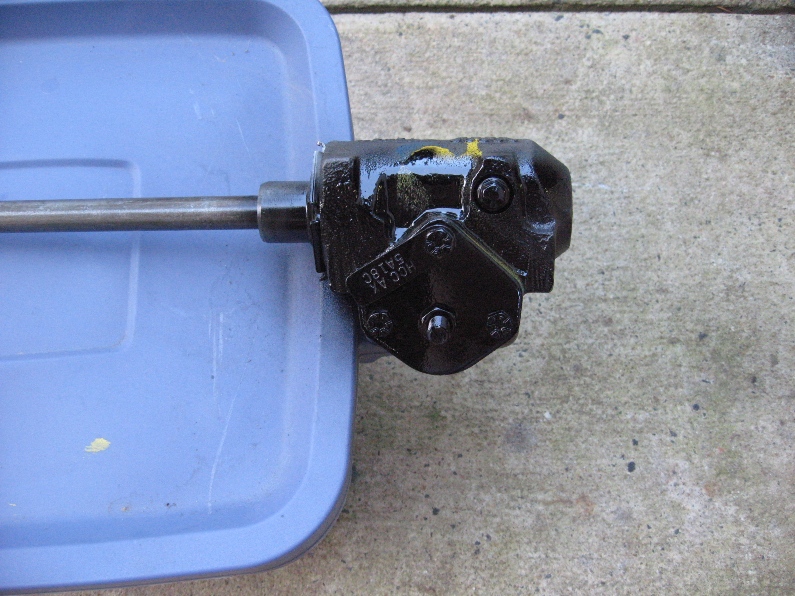
The rest of the day was spent restoring the original steering box. To do this properly, the box was disassembled and each piece detailed properly. New needle bearings and sector shaft bearings were installed. Unfortunately, Ford chose to blackout the top of the steering boxes, so I had to obliterate all that nice detailing! If you look in posts here from a couple months ago, you can see the original box was blacked out. The blue/yellow paint marks were applied before blackout, which can be seen on the back edge once installed. I'll go ahead and share the trick for getting the cast appearance back on the case. First the case must be glass beaded to remove all rust/dirt. Then it must be cleaned completely to remove all grease and media. To get the slight darkened appearance the case is dipped in a phosphate solution for about 30 seconds. After that, it is dried and submerged in oil for about a half hour. Once removed, the surface is rubbed with coarse steel wool and then wiped clean.


While doing the steering box, went ahead and restored the engine mounts.

Monday, September 28, 2009

9/27/09

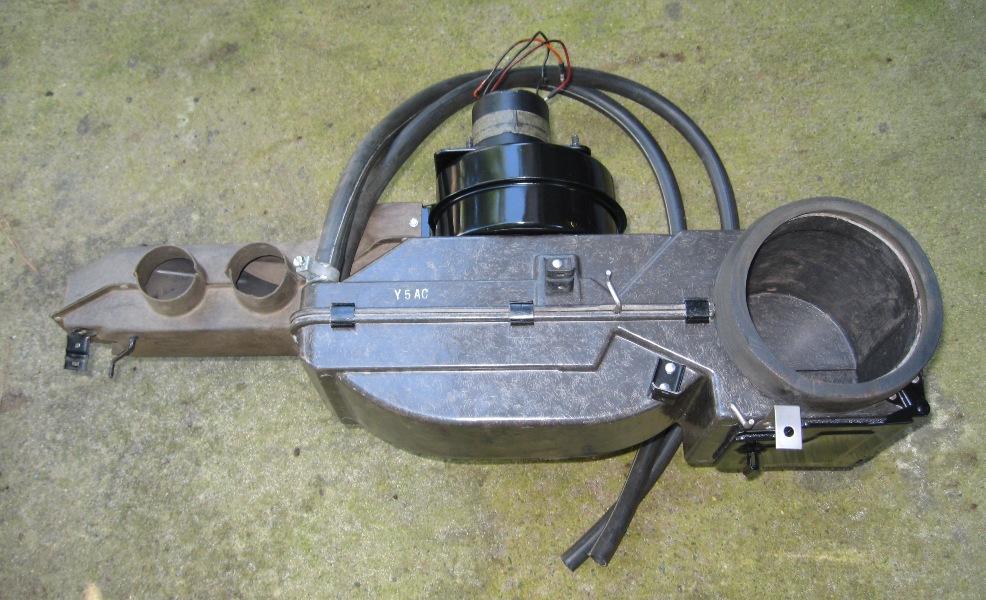
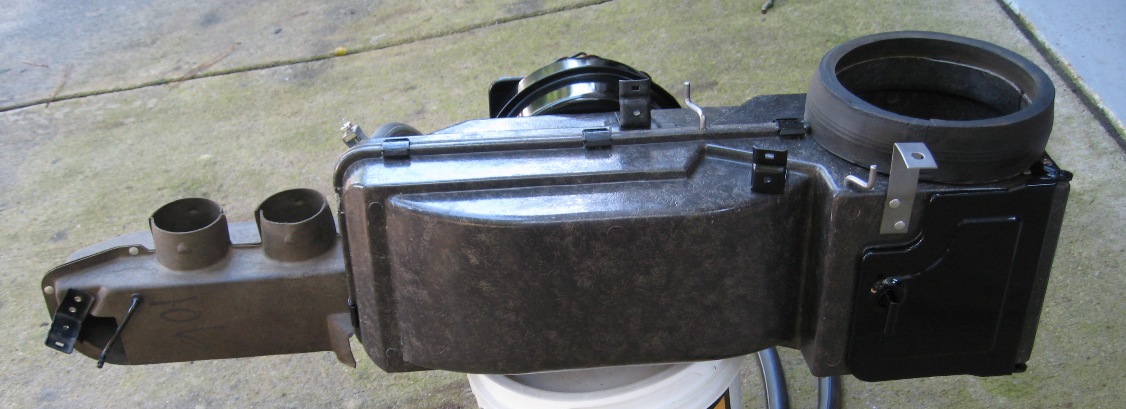
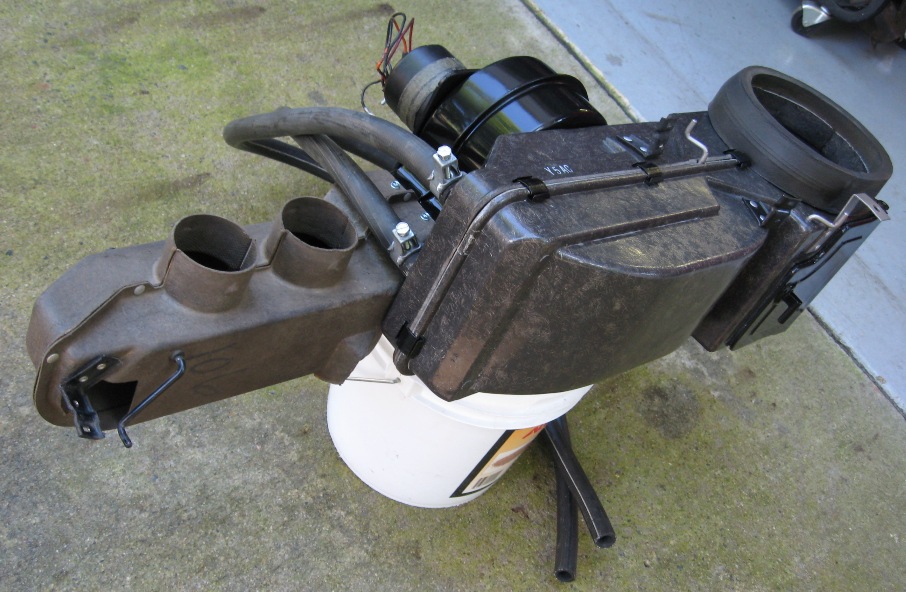
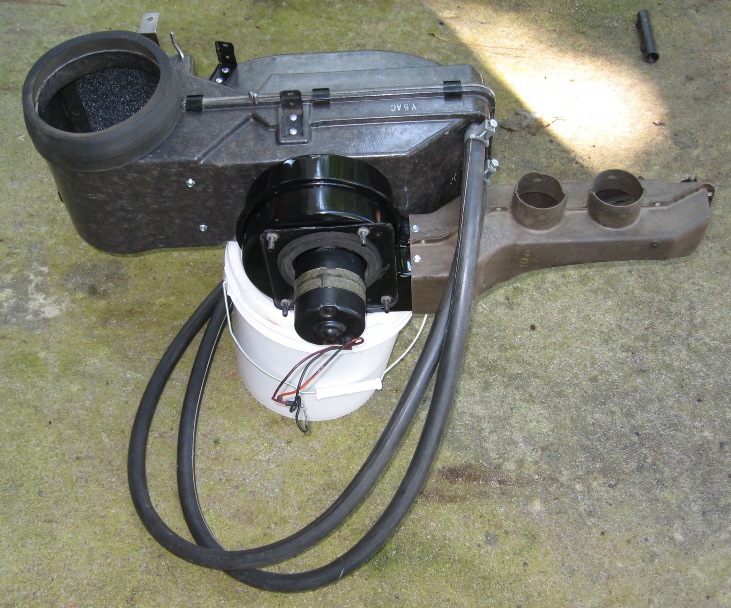
More dash assembly progress. Spent the better part of an entire day restoring the heater box. There is quite a bit of detail if you want to do it right. The heater box I used is an original 5AC dated case, which had a nice enough original finish that it just required cleaning/polishing. The door and fan plenum had to be repainted black. An NOS heater core was used, along with NOS heater hoses. The gem of the assembly is the original cardboard heater plenum. Those that are observant may notice the '106' rotation number on the front, which is the same rotation number used throughout the car. One other detail is the NOS fan motor, which is an early 1965 piece with 3 wires. Notice the correct tape seal in the middle.


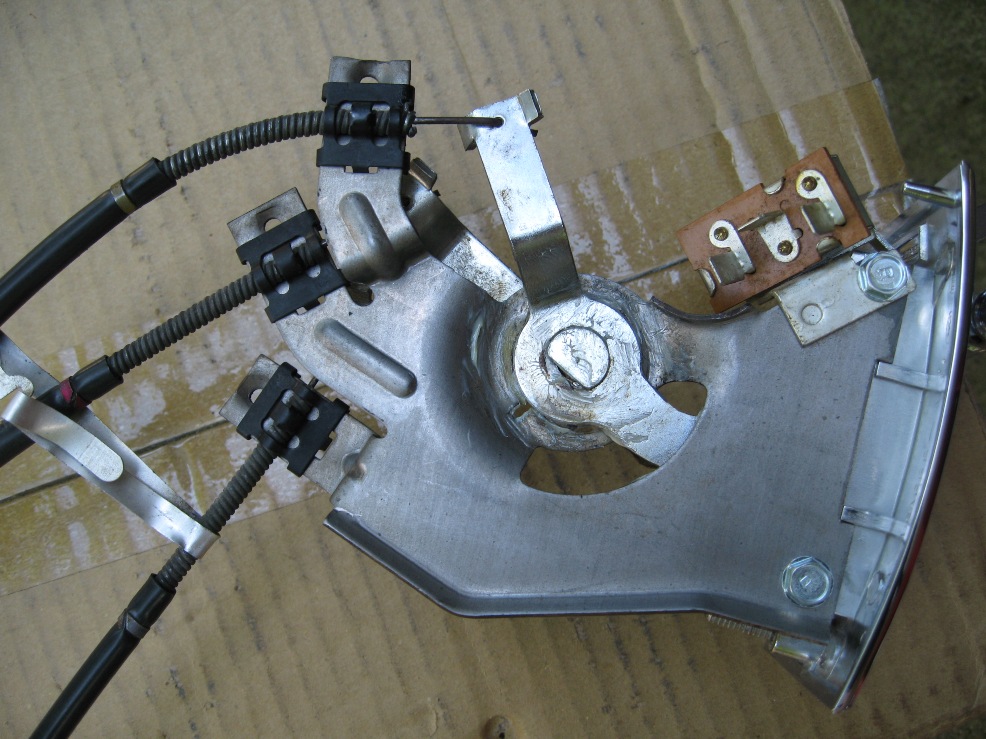
The heater cable assembly was also restored and installed. An interesting detail is the clips that hold the cables to the control unit. No screw and clamp like others that are typically seen. The original from the convertible was like this, as well as the 2 parts coupes. One final detail is the aluminum strap to hold the cables together.


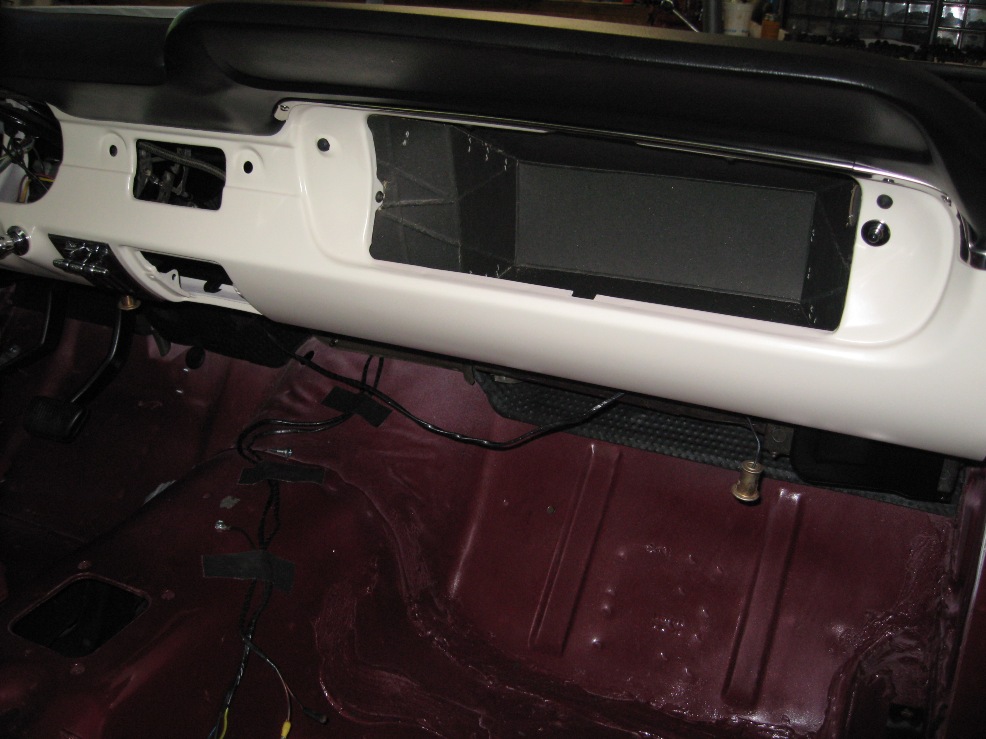
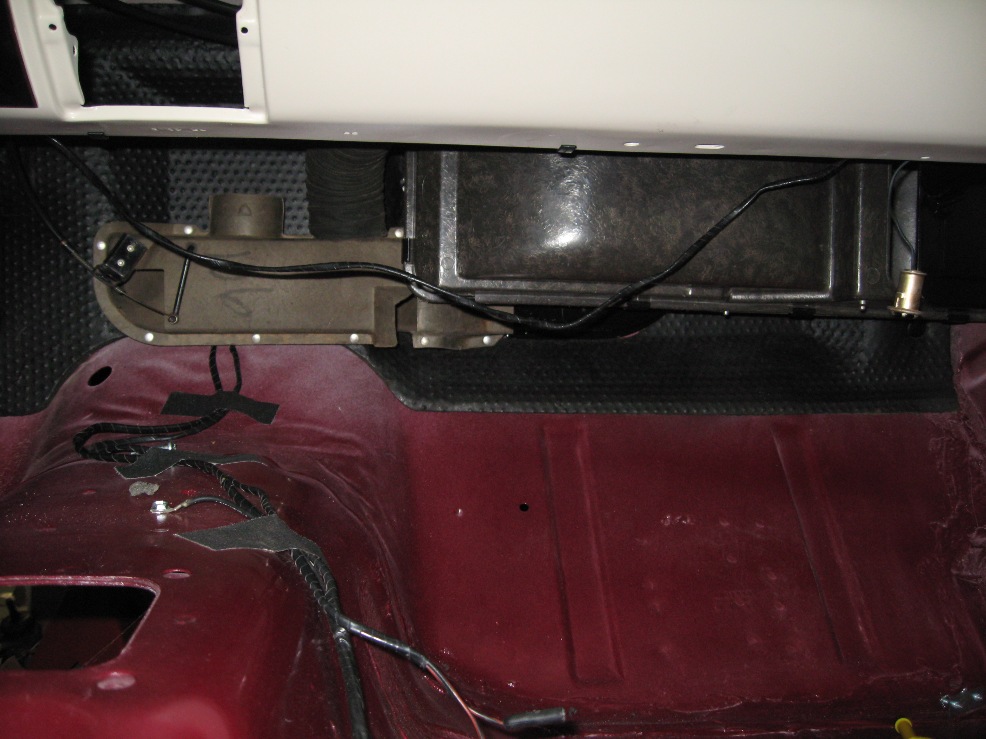
Heater box was installed without any problems. Sealer used where the hoses come through the firewall. Also installed was an NOS glove box liner. This service part came with incorrect screw clips, had to remove a set off an original liner and install on the service piece. It went in without too much trouble.


Last item installed this weekend is the headlight wiring lead. The one used is a mint condition original. It just required cleaning and was ready to install. The wiring loops are also original, that just required cleaning to install. Installed the NOS voltage regulator, dated 5A22 on the bottom. Will be needing a better cap though.


Tuesday, September 22, 2009

9/21/09

Concentrating on dash assembly now. Have detailed/installed the pedal assembly, master cylinder, wiper motor assembly, fresh air vent and parking brake handle/chassis.

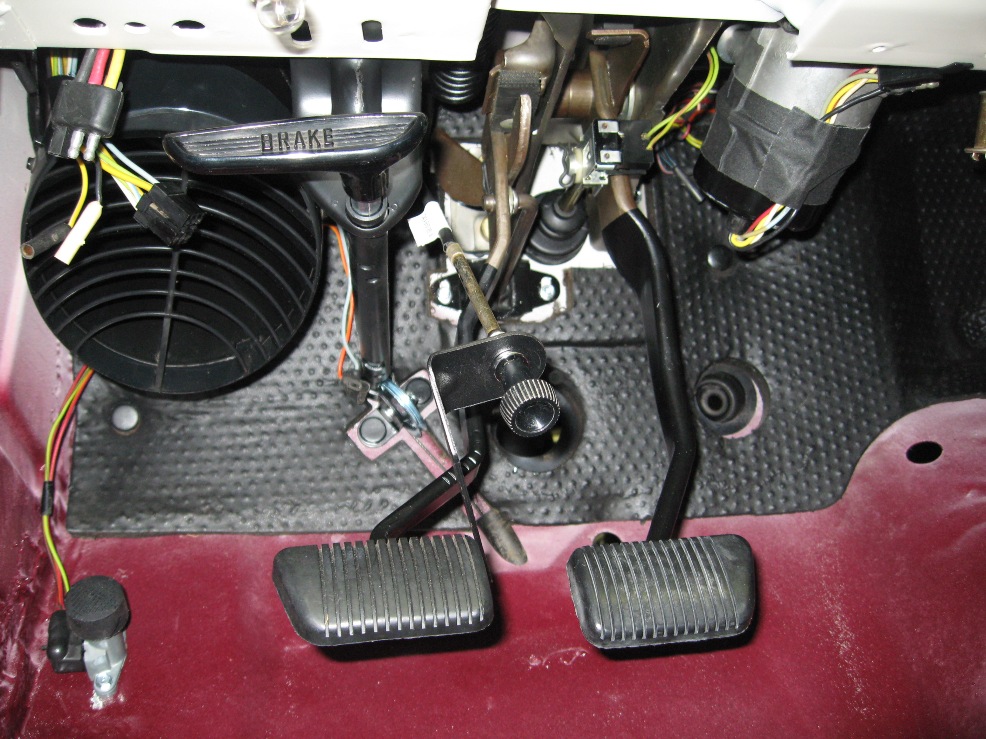
The clutch/brake pedal assembly came out very nice. There is a lot of detail that a lot of folks might not notice. Such as the clutch pedal shaft being cad plated, not natural steel. Also, the pedals were a bit of a darkened appearance at top, which I was able to save by a very light glass beading at 20psi. Also, there are heat marks on the metal where the stop bracket is welded to the clutch pedal. One interesting detail is the difference in the black paint dip lines. I was able to save the original lines and reapply black paint in the exact position as it was. Kind of cool detail! Last item of interest is the ultra-rare clutch pedal pad w/out the indentation around the perimeter. This is a genuine Ford NOS part, which was acquired before the repro's came out. Nice detail you don't see very often on restored cars.


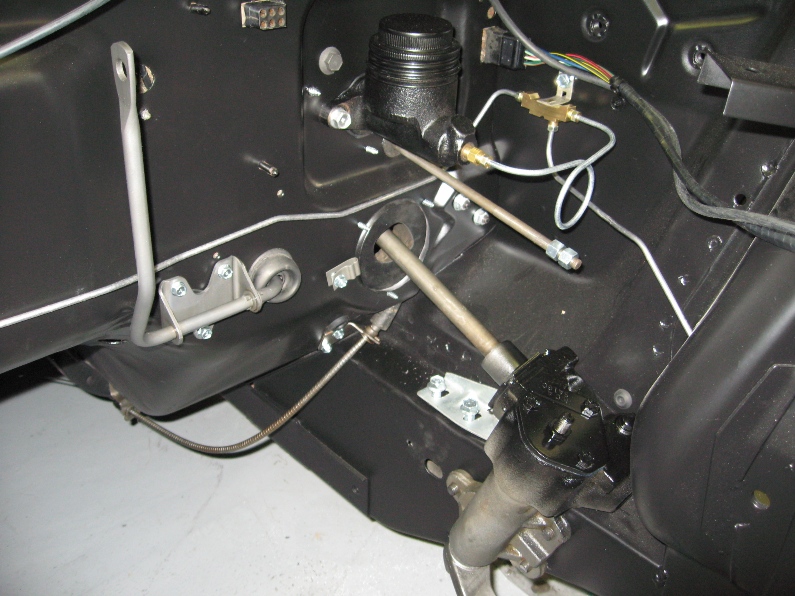
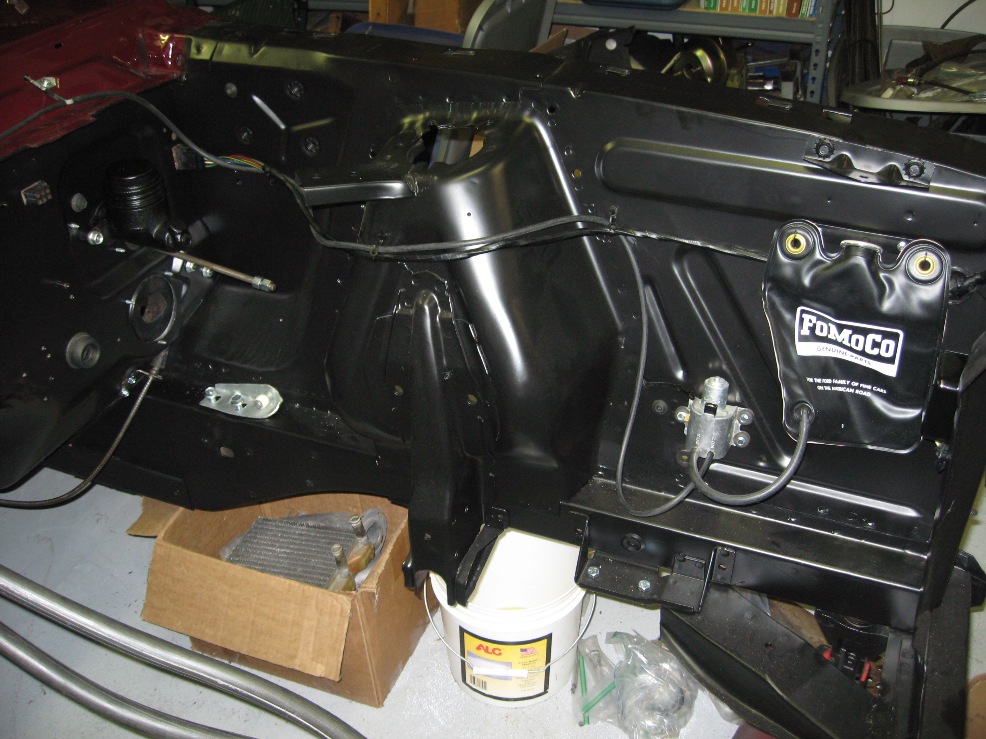
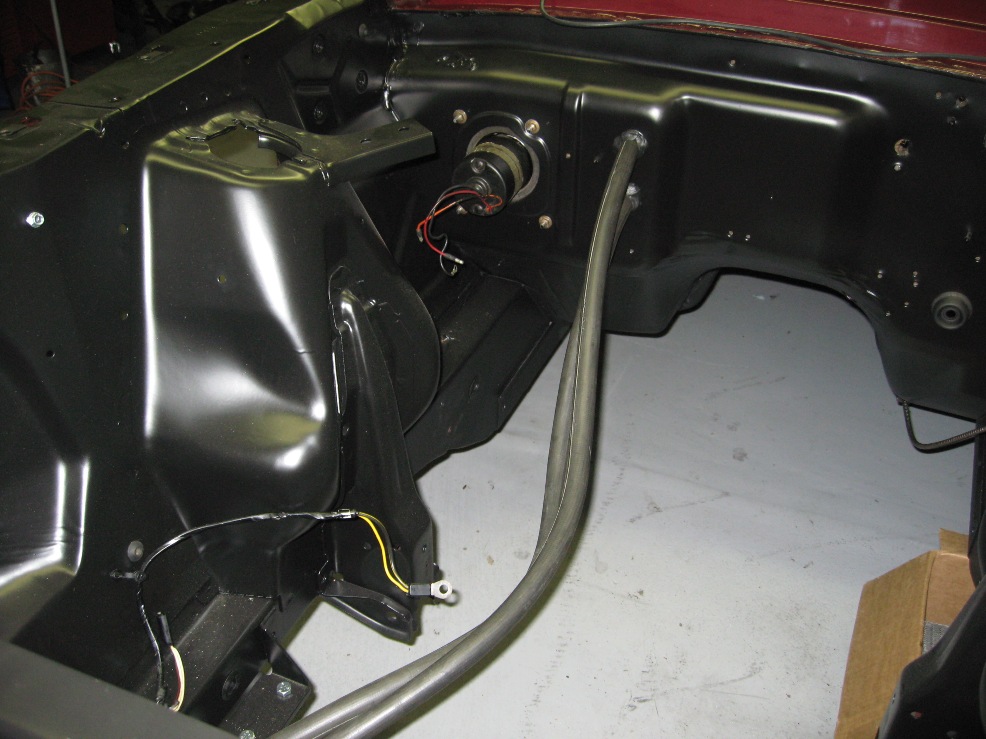
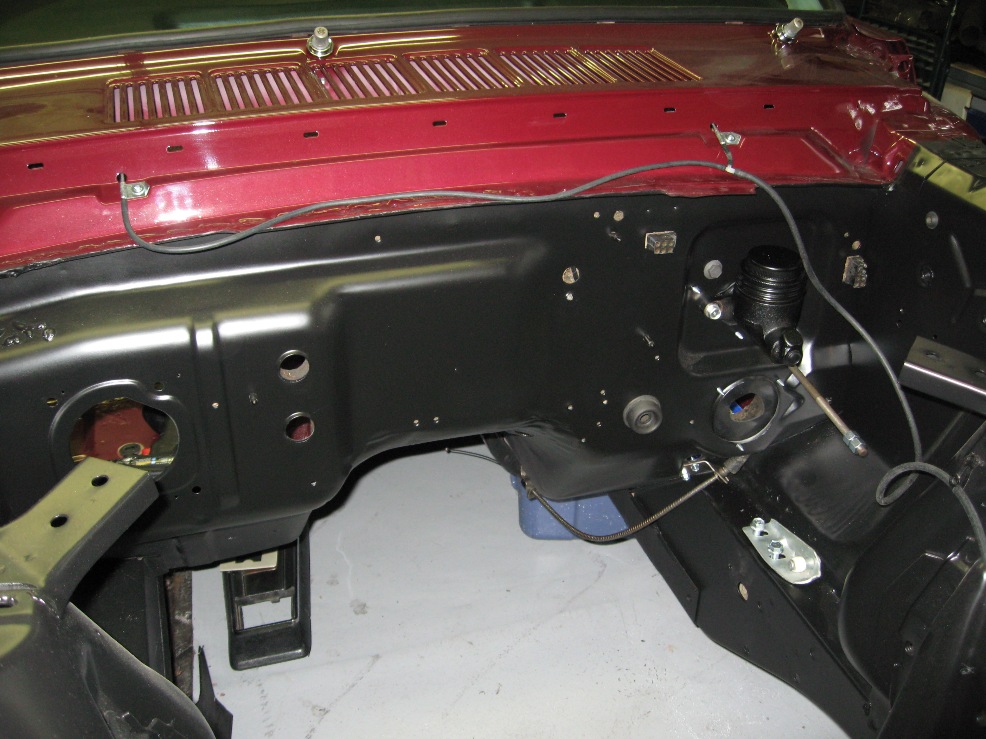
Not a whole lot going on in the engine bay right now, but as mentioned, the master cylinder was installed when the pedal assembly went in. The MC is an NOS FoMoCo piece, 100% exactly the same as the original that was in the car. Nice detail showing the lid and body painted together as a unit with the fitting plug in place. Fasteners are original pieces that were re-plated proper finish. Also, notice the clutch rod has been installed. This is an NOS Ford piece with re-plated original nuts. Last noticeable item in the engine bay is the installation of the windshield washer system. This is from an NOS FoMoCo kit that included ribbed hoses and all the correct pieces.


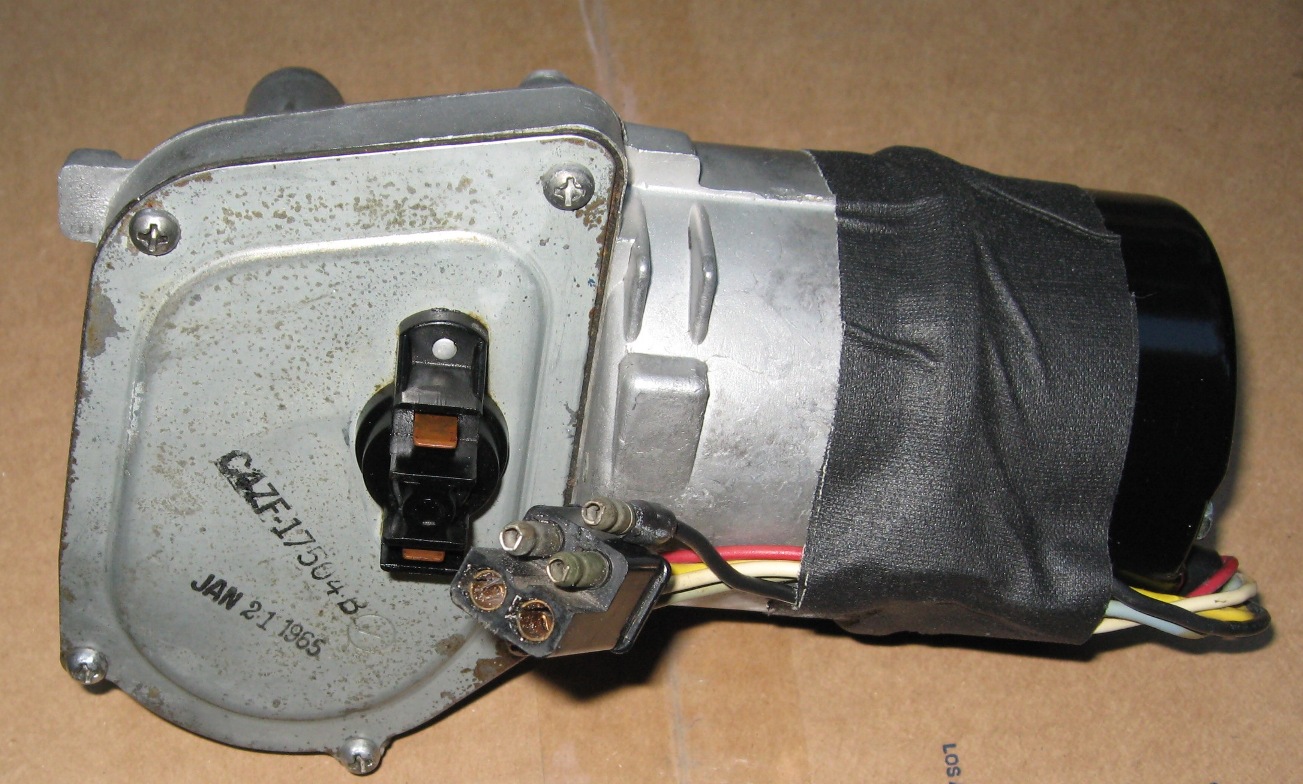
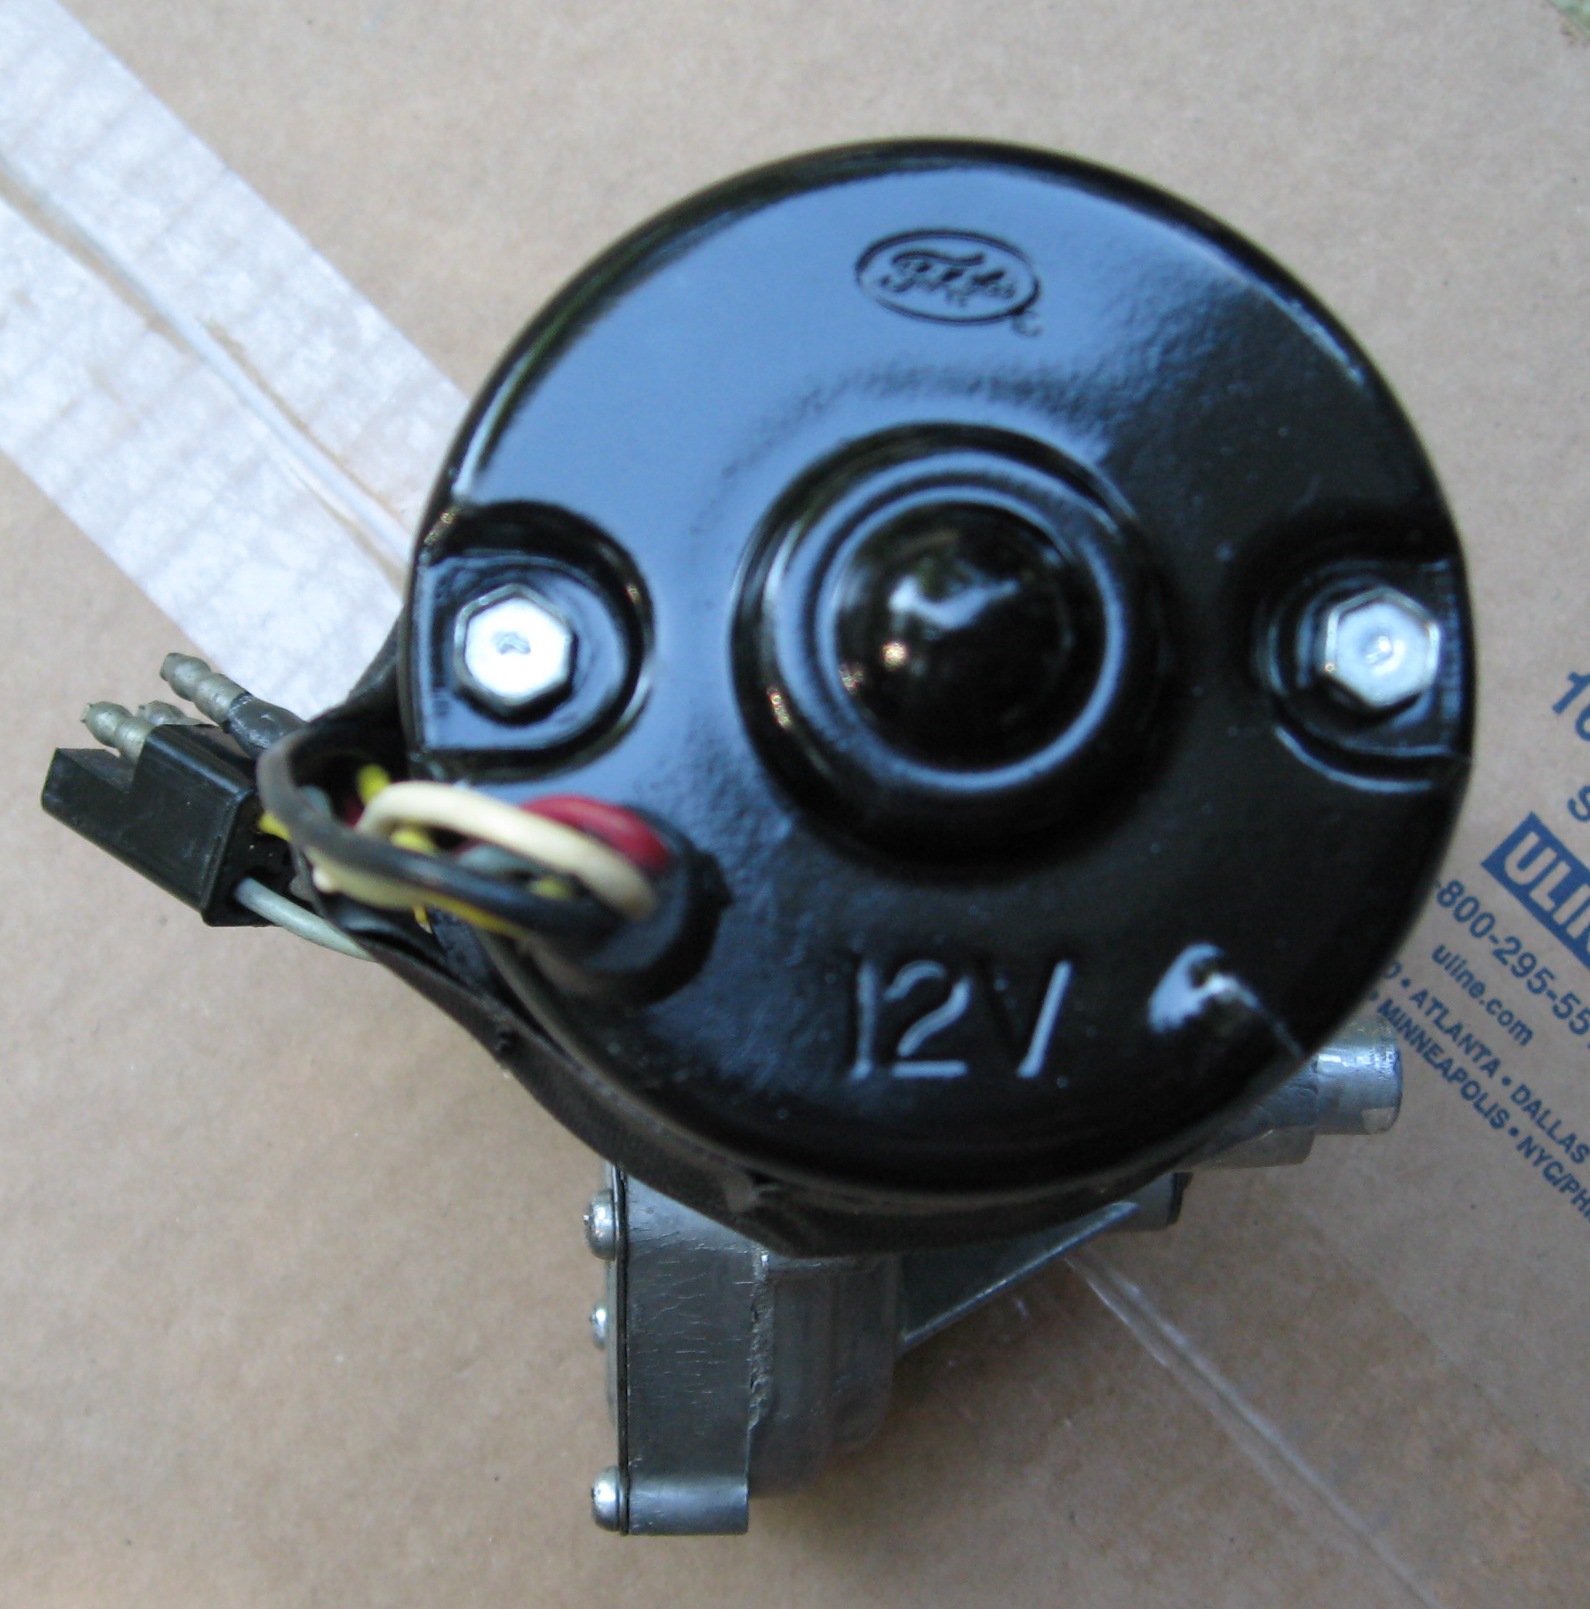
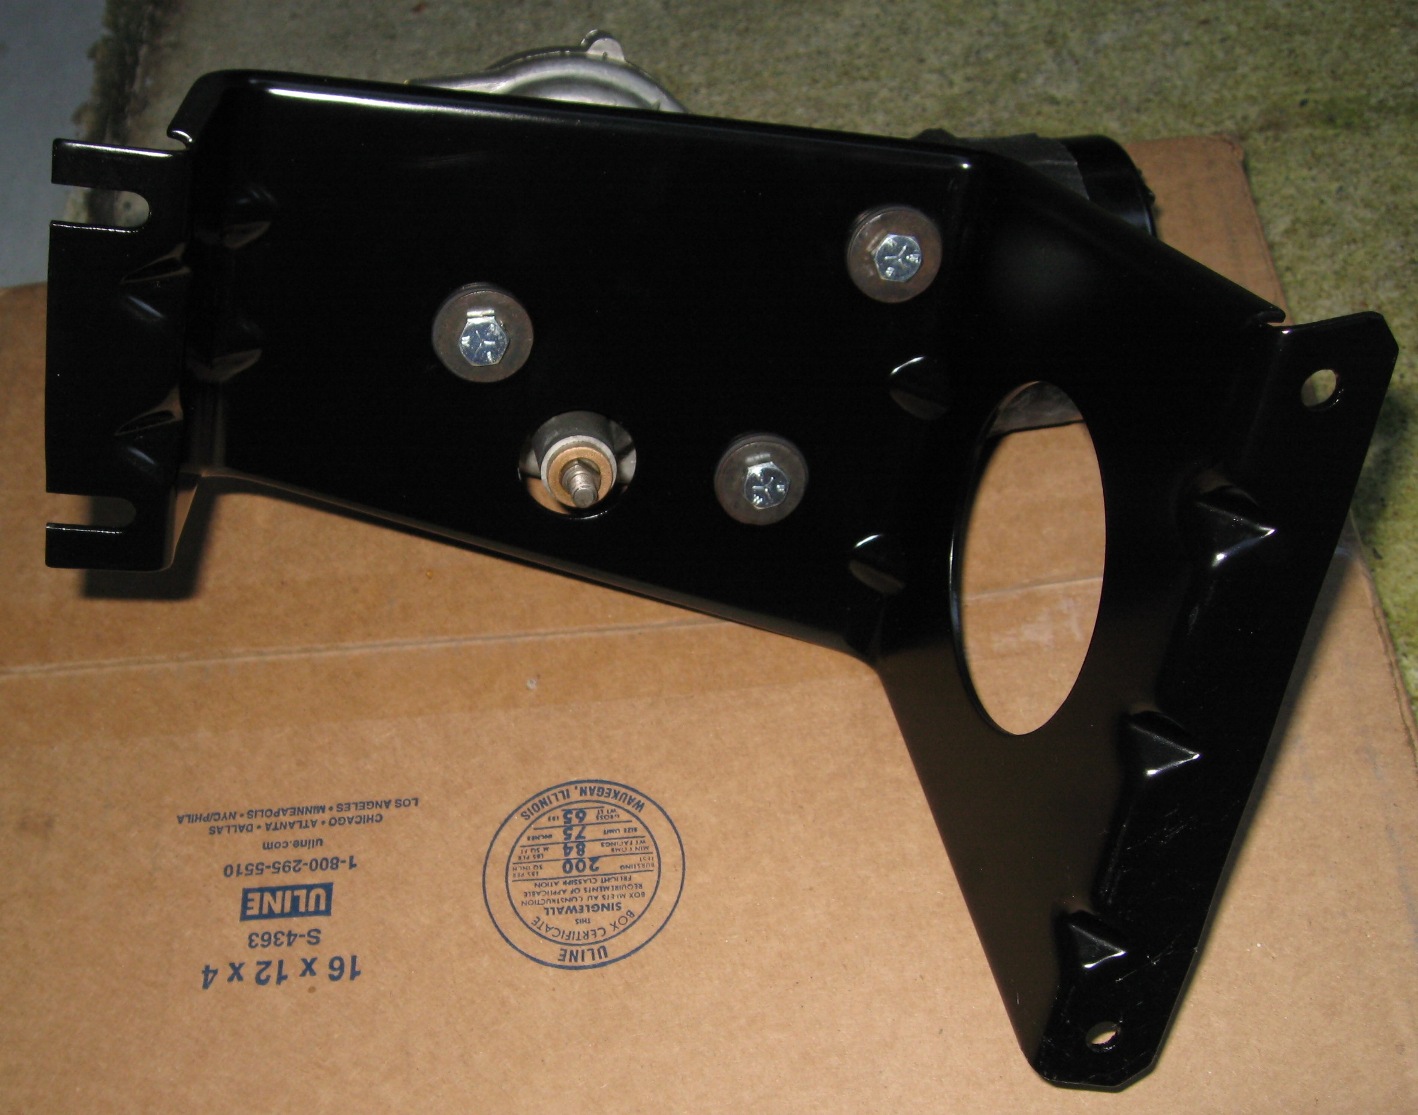
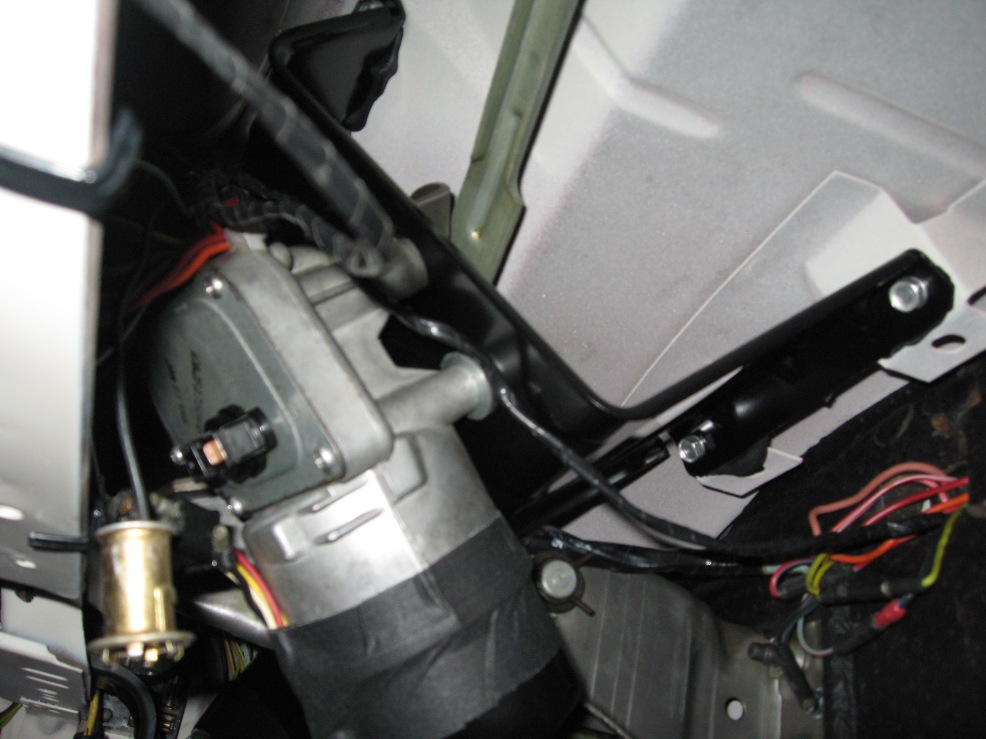
Back to the interior... Restoration of the wiper motor and arm assembly was somewhat time-consuming. There is a lot of detail that has to be done. The 2-speed wiper motor has a cover with a date stamp, I chose to keep this the original finish and not disturb the original "Jan 21, 1965" stamp. The end cover of the motor is painted black, which had to be re-finished. Original attaching screws were nice original plating and were just put back in. Cloth tape was applied how it was found, which hold the wires up so they can't be seen from the edge of the dash. The wiper bracket is semi-gloss black with strip caulk used to attach it back in the car (prevent vibration noises.) The wiper arms were originally like a cadmium plating. The left one is NOS while the right is a very nice used original that was cleaned up. Original wiper bezels and attaching nuts for the exterior were re-chromed and look perfect.


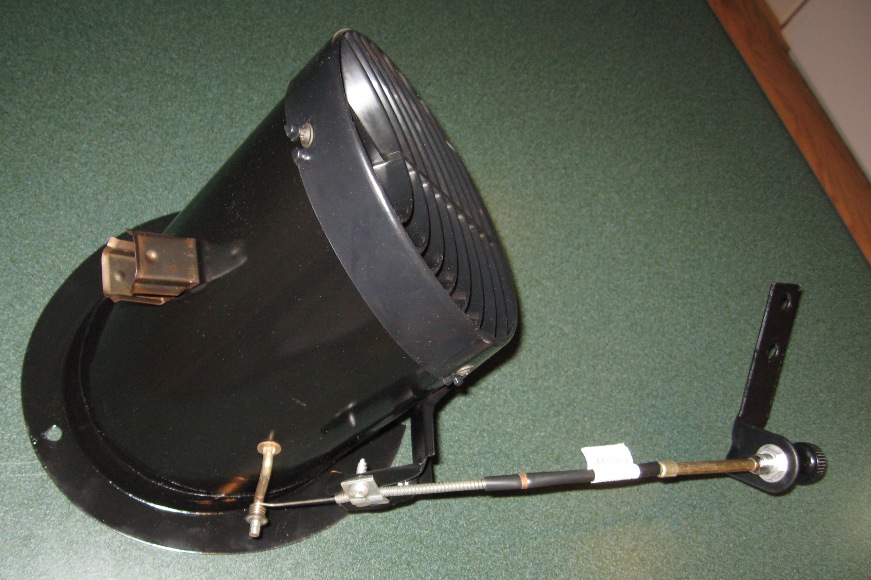
The fresh air vent was rather easy to restore. The only thing that takes time is detailing the plastic vent cover. I had an extremely nice original vent assembly that probably didn't need re-painting, but I shot a new coat of paint on it anyway. The vent cable is really nice, showing the zinc dichromate plating on the shaft. Also, notice the C4ZA part number decal. Found this on several San Jose cars. Have never seen it on any other assembly plant car. Also, notice the finish on the flasher clip. It might have originally been black zinc as it has a bit of a darkened "rainbow" appearance. Flapper shaft on this assembly was zinc dichromate, have another one that appears to be more red in appearance.


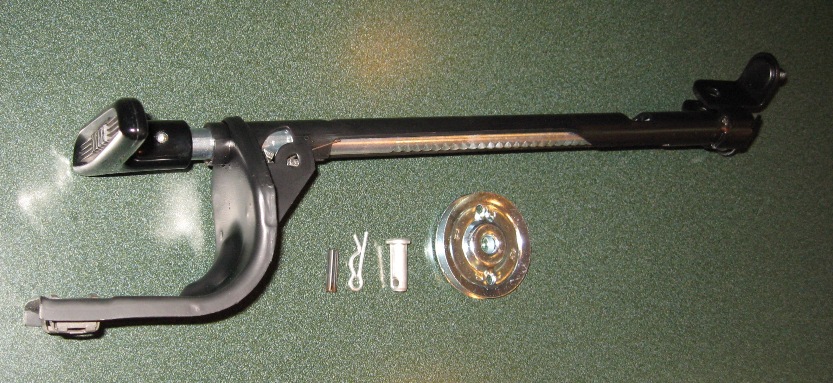
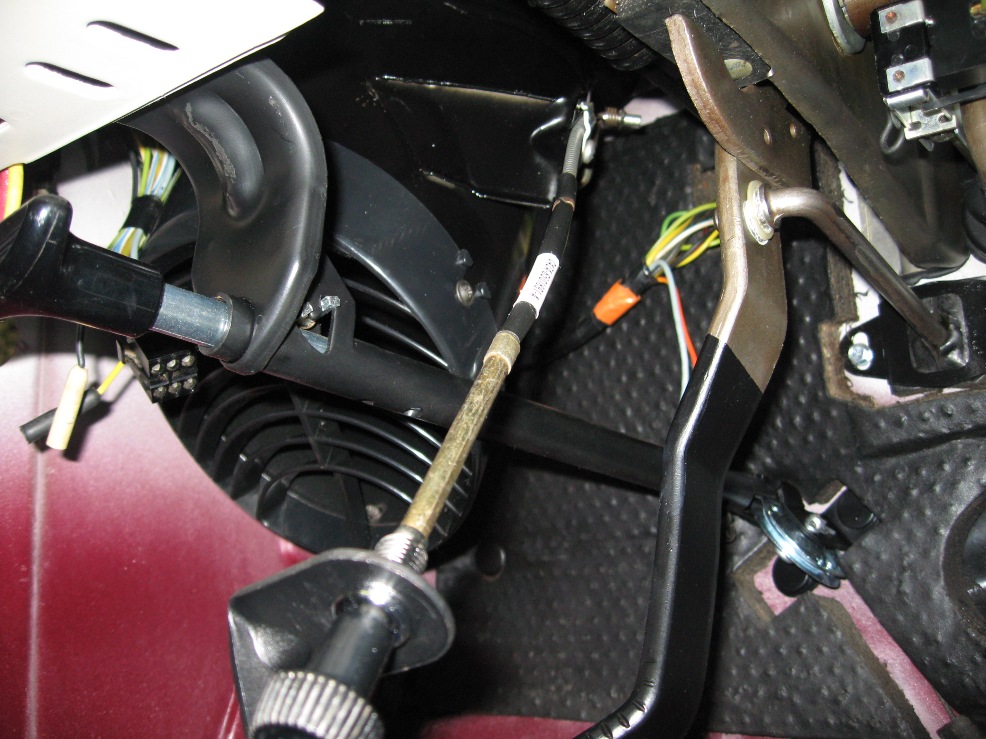
Next is the parking brake handle and chassis. Restoring one of these is not that hard. Have always been baffled that some choose to pay upwards of $300 for an NOS unit when they could restore an original for a fraction of that cost. The wheel at the end, the pin and clip can be re-plated. The handle shaft can also be plated in clear zinc. I had a really nice original plastic pull handle which was cleaned and installed. It was much nicer than the NOS piece I had bought.


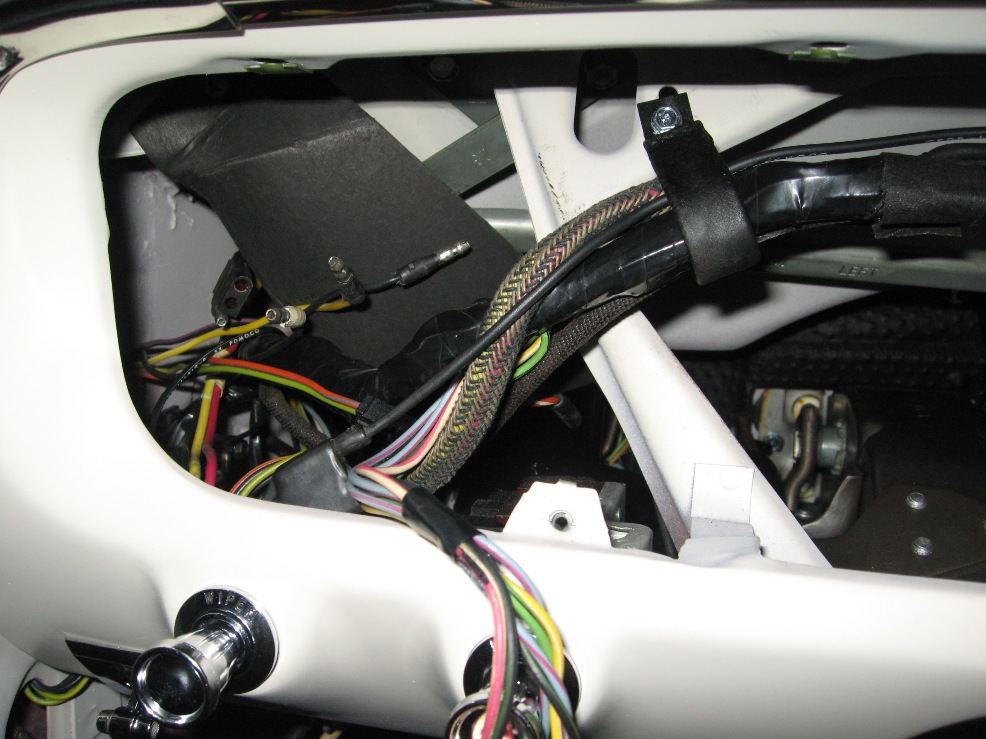
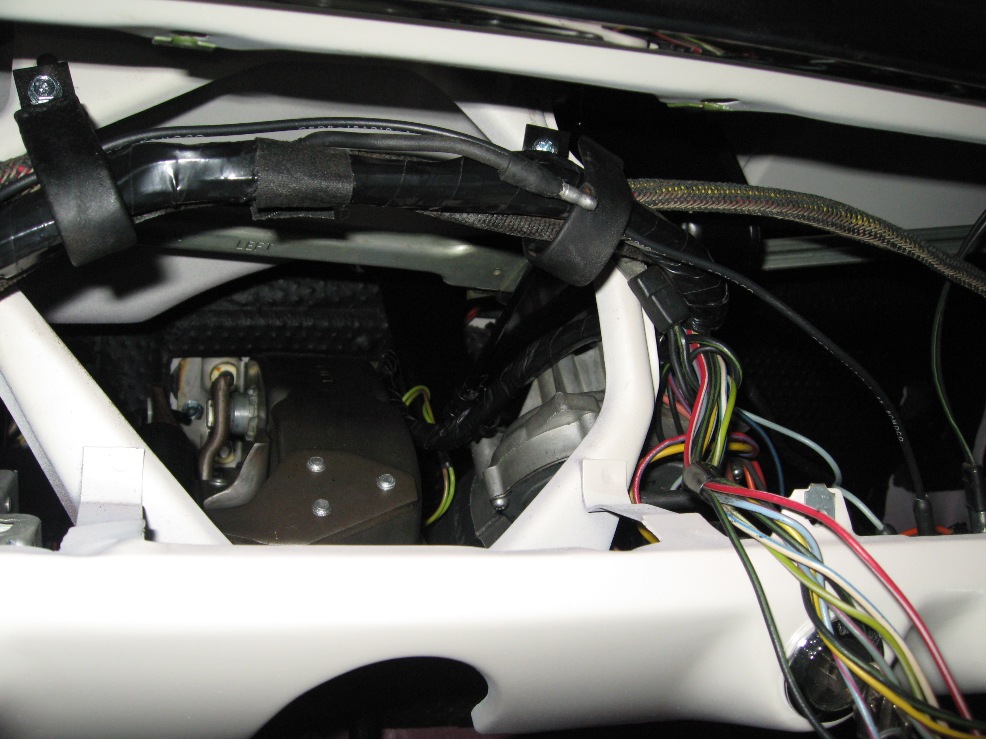
Here are a few shots of the pieces installed in the dash. Notice the original wiper arm cover. Had a super nice original that just needed to be cleaned up. Also notice that loop clips for the main wiring harness. These were only used on convertibles from that time period. Coupes/fastbacks had plastic wire clips. Only reason I can figure is that convertibles had the loops in case a power top was installed, which would allow the extra space needed for the power top lead that goes behind the dash to the switch.


Tuesday, September 1, 2009

8/31/09

Back from CA now. The MCA show in Van Nuys was nice, but HOT!
Just wanted to write a quick note that I found another dimmer switch on a junkyard car in Sacramento. It was a coupe and it had a 2" high dimmer. So, there goes my little theory that convertibles had the higher switch!