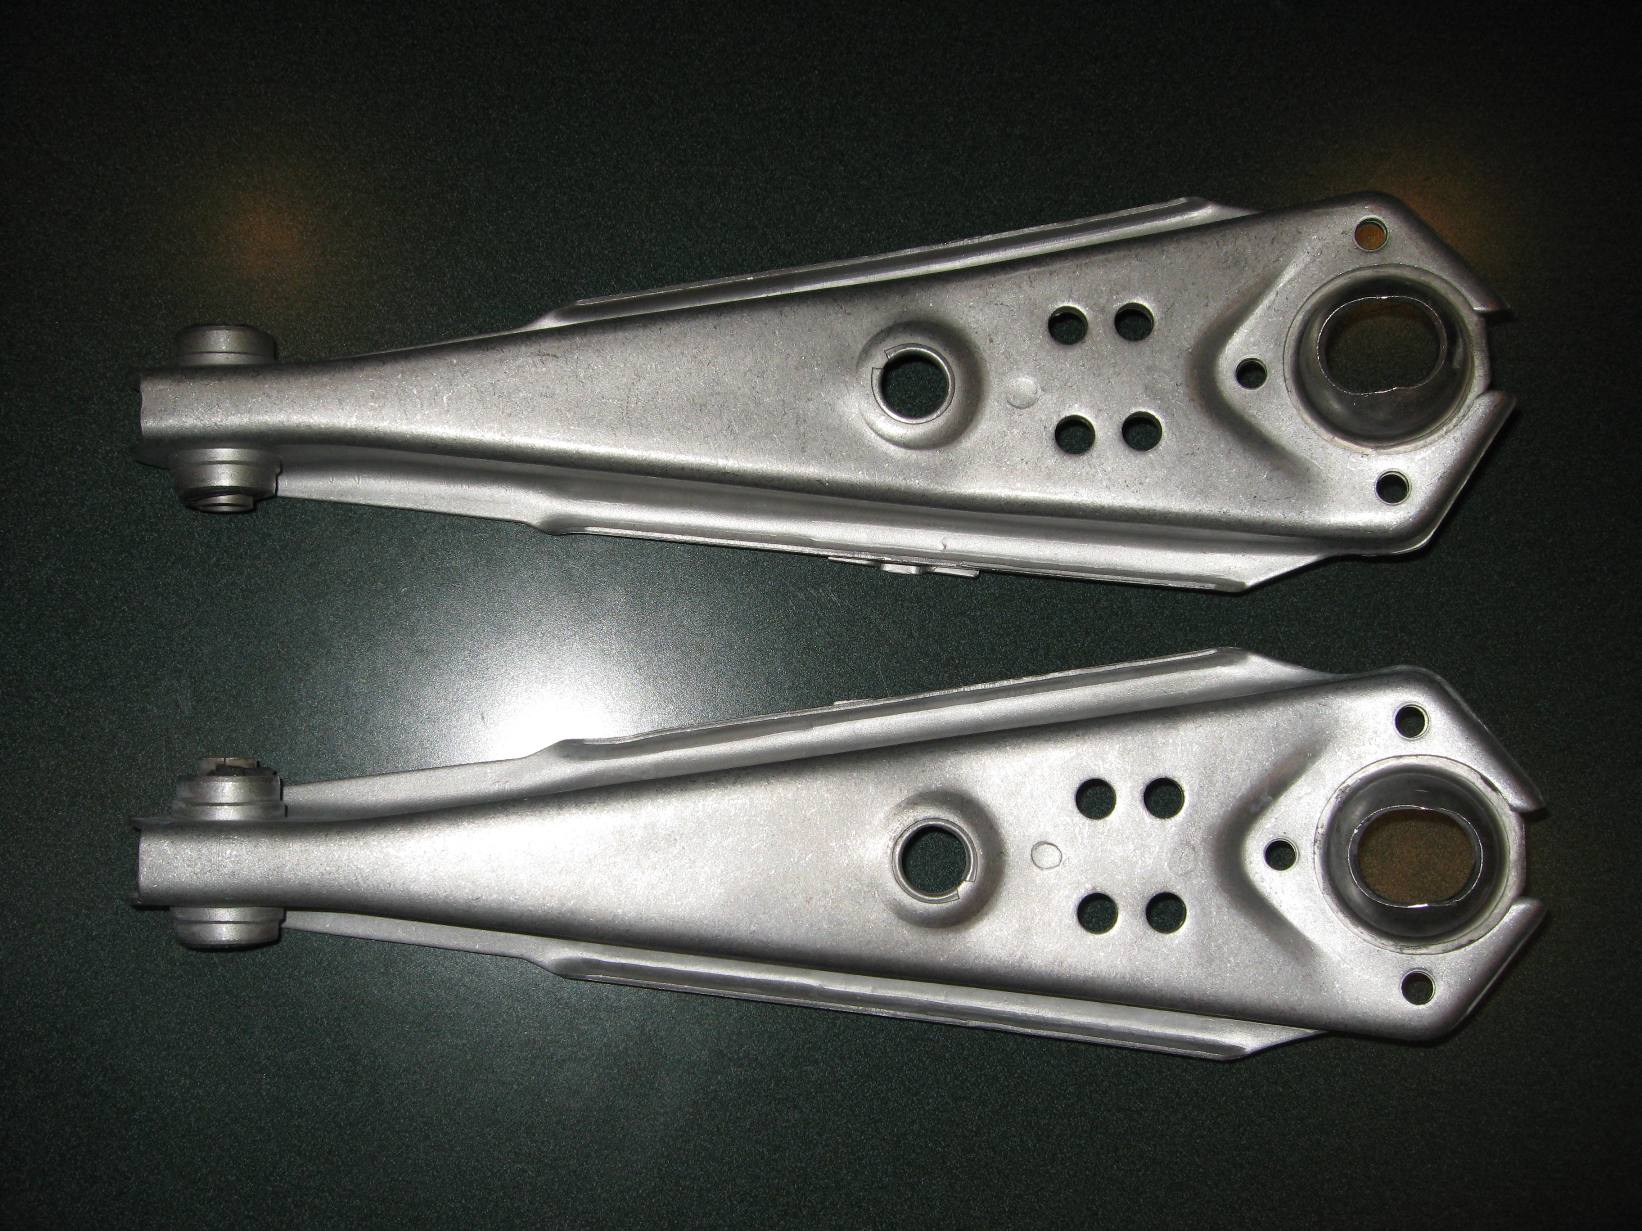
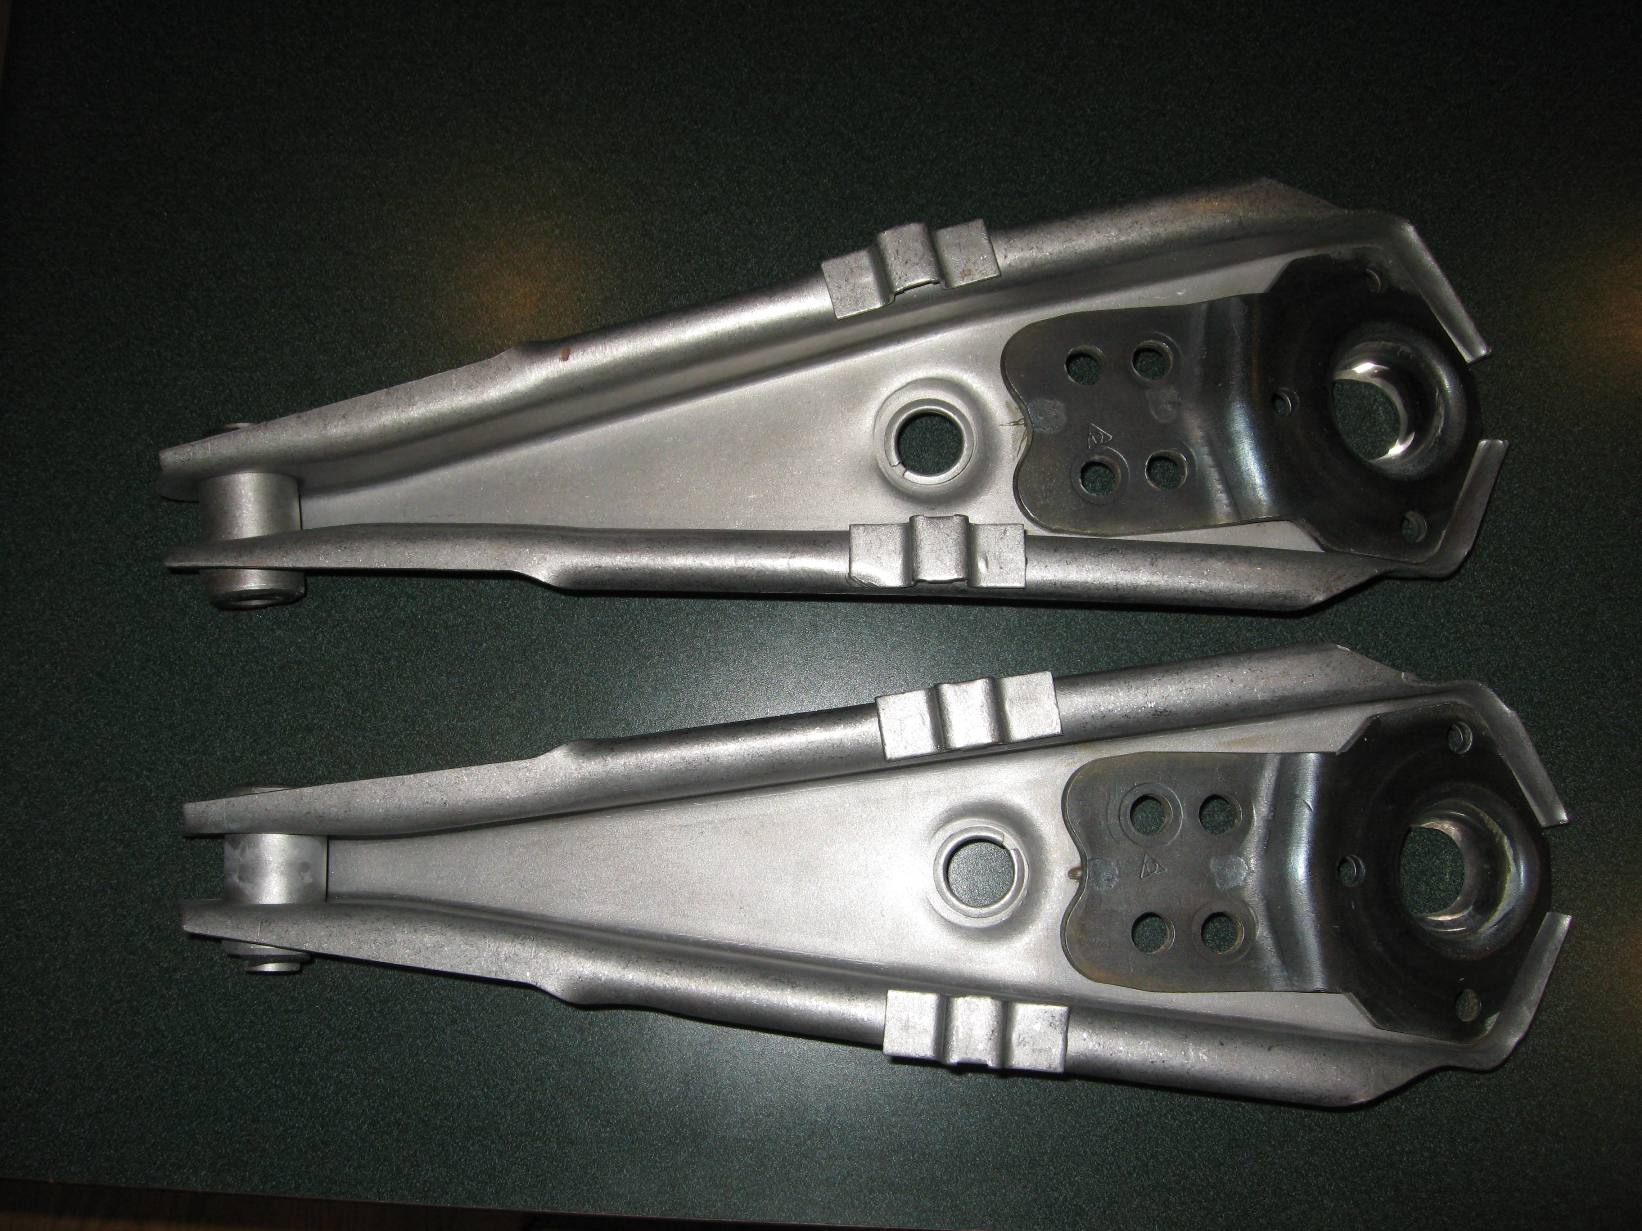
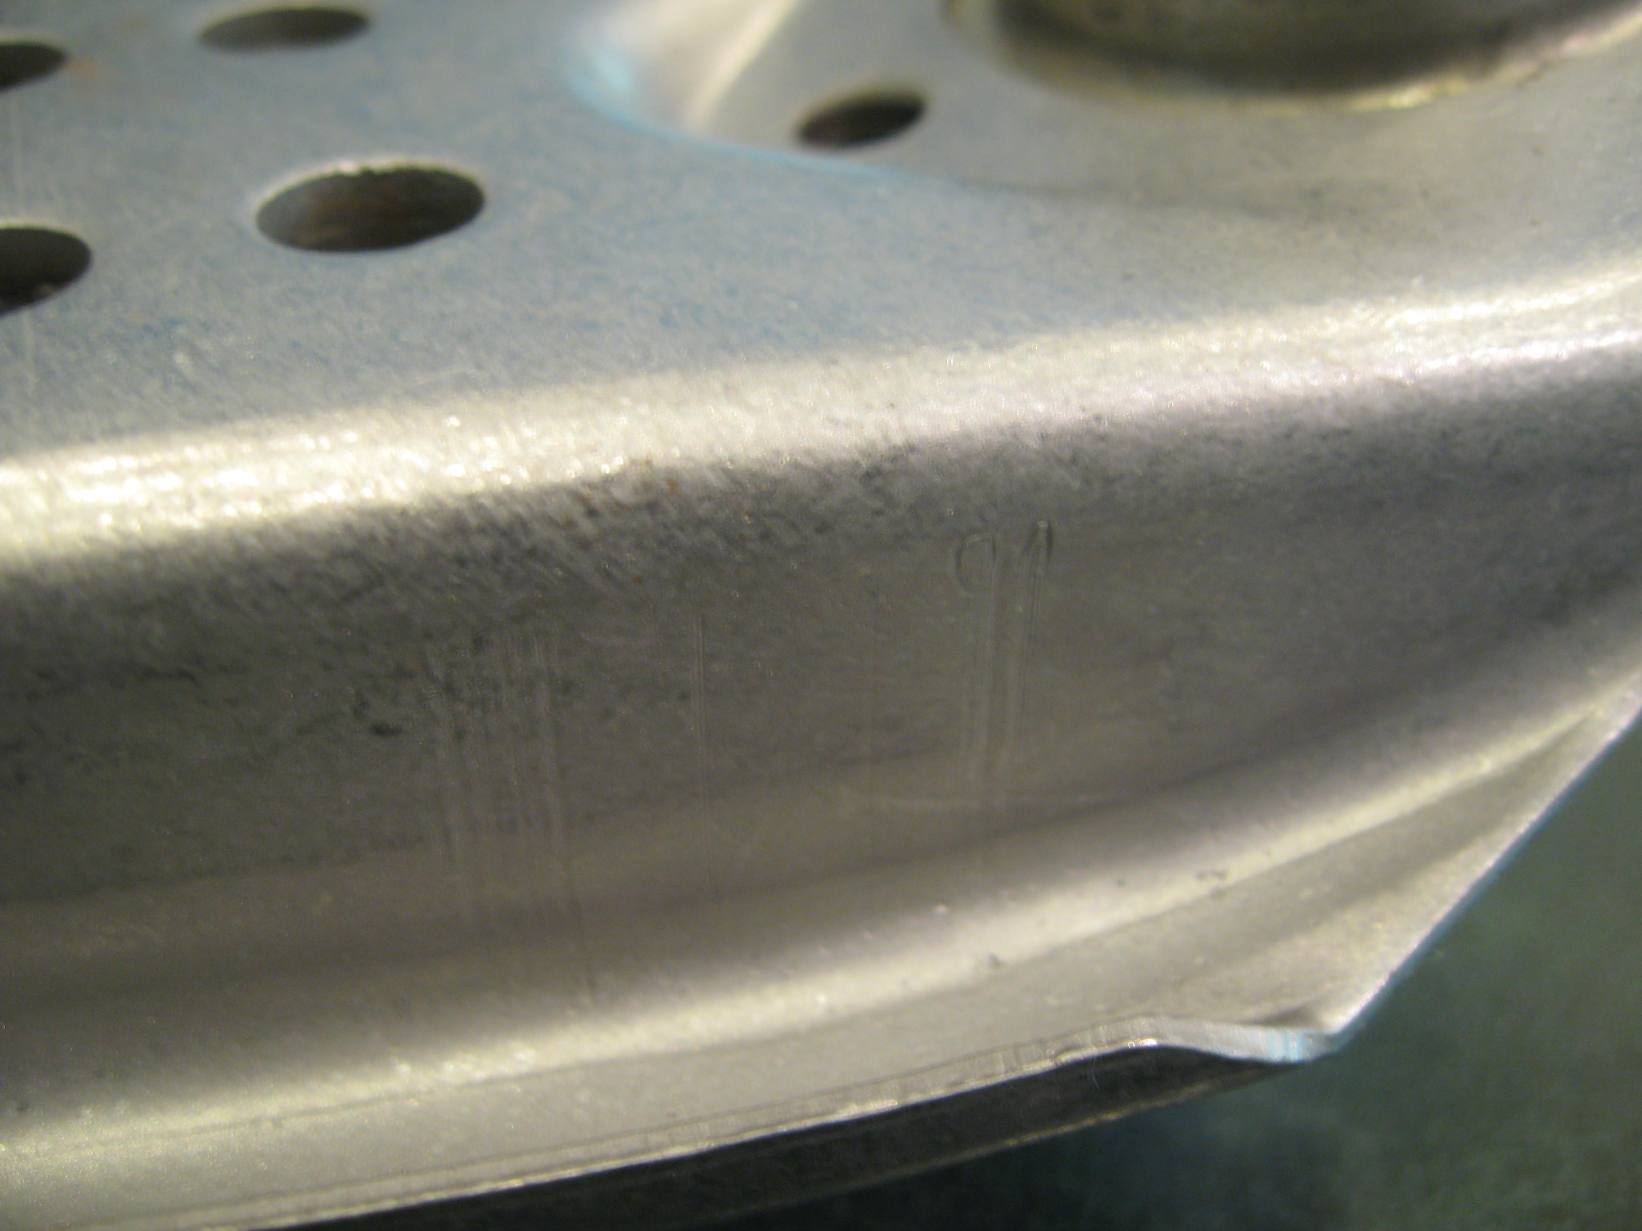
Well, has been several months since the last update. Have gotten a lot of things accomplished, which mainly have to do with getting other folks to restore/rebuild parts. The upper and lower control arms fall into this category. I've put a tremendous amount of effort into restoring an original set of these. In an earlier blog entry, I noted some of the differences in the lower control arms, compared to 2 versions of Ford replacements. What I found was that I would have to restore an original set to get the most authentic results. Thankfully, I had nice original arms that could be restored.
For the uppers, some work had to be done as there were chisel marks/gouges around the ball joint rivet holes. Evidently, this was how someone removed the ball joints a long time ago. The marks had to be welded and ground to get them back looking new. NOS upper ball joints were used with proper C4OA boots. The arms have had the ball joints put on with the correct style rivets. Should have them back soon.
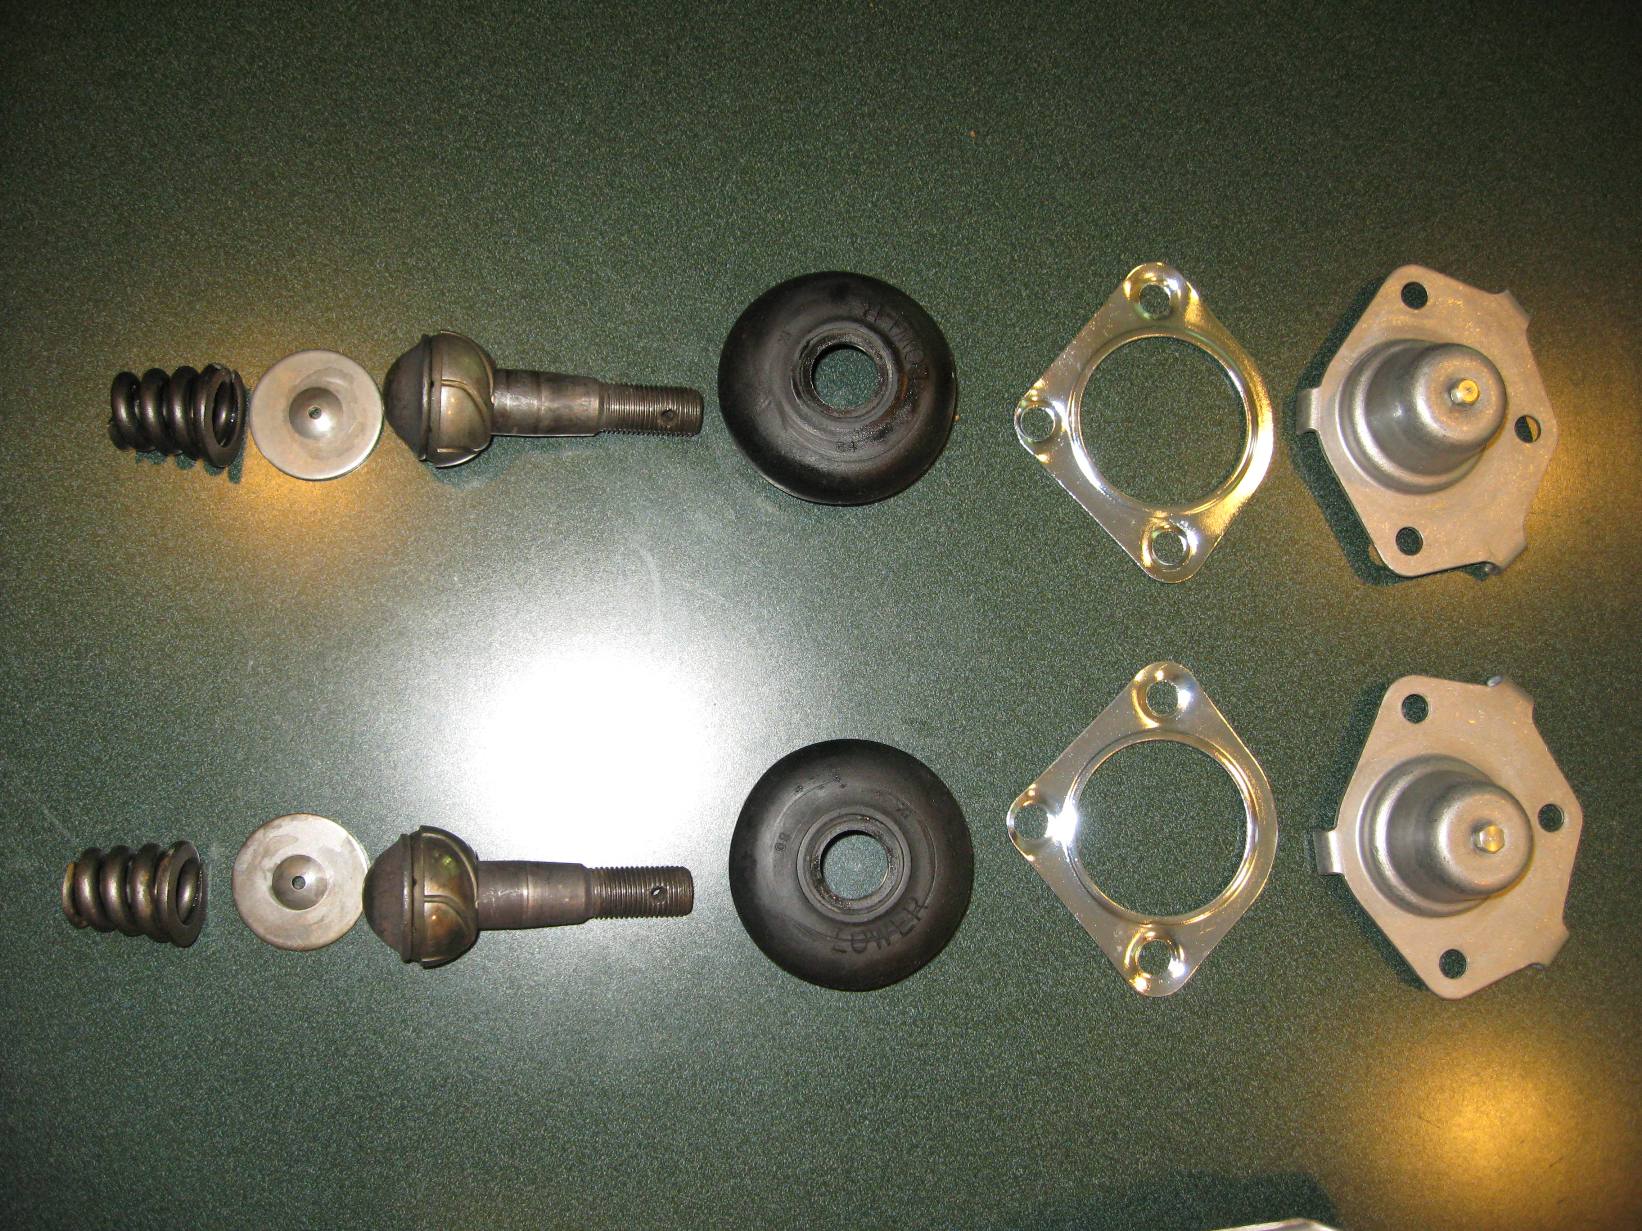
On the lowers, it was a little more challenging as there really are no replacement ball joints that are correct. Furthermore, there are no accurate reproductions or even service replacements of the rubber boots. Thankfully, I was able to salvage 2 pretty nice original boots. I had the original rivets drilled out and ended up re-plating the boot retainers and detailed the arms without the ball joints attached. There are quite a few parts to a lower control arm! The arms were blasted and tumbled, they came out perfect. I'll have NOS end bushings pressed in to complete the parts restoration. Then all that will be left is doing the black dip on the uppers and lowers. The lower control arms should be back soon also. Here's some pics:


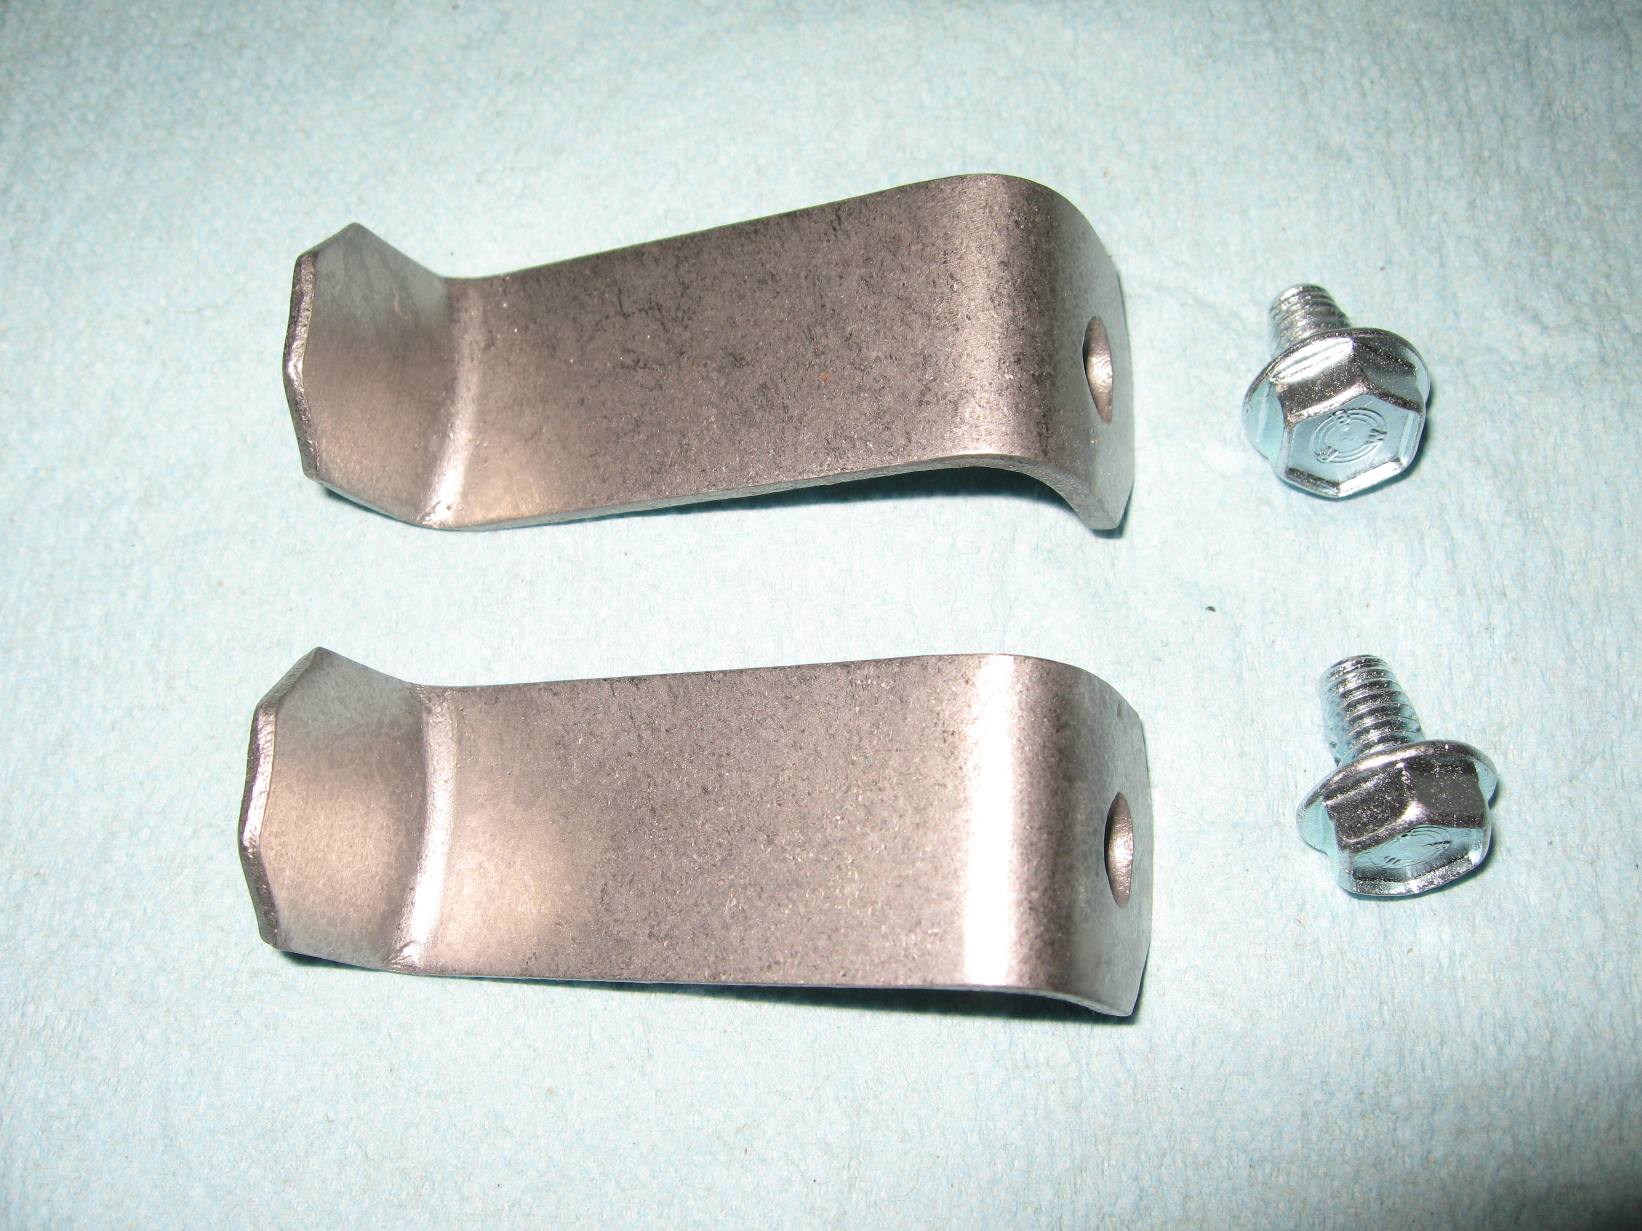
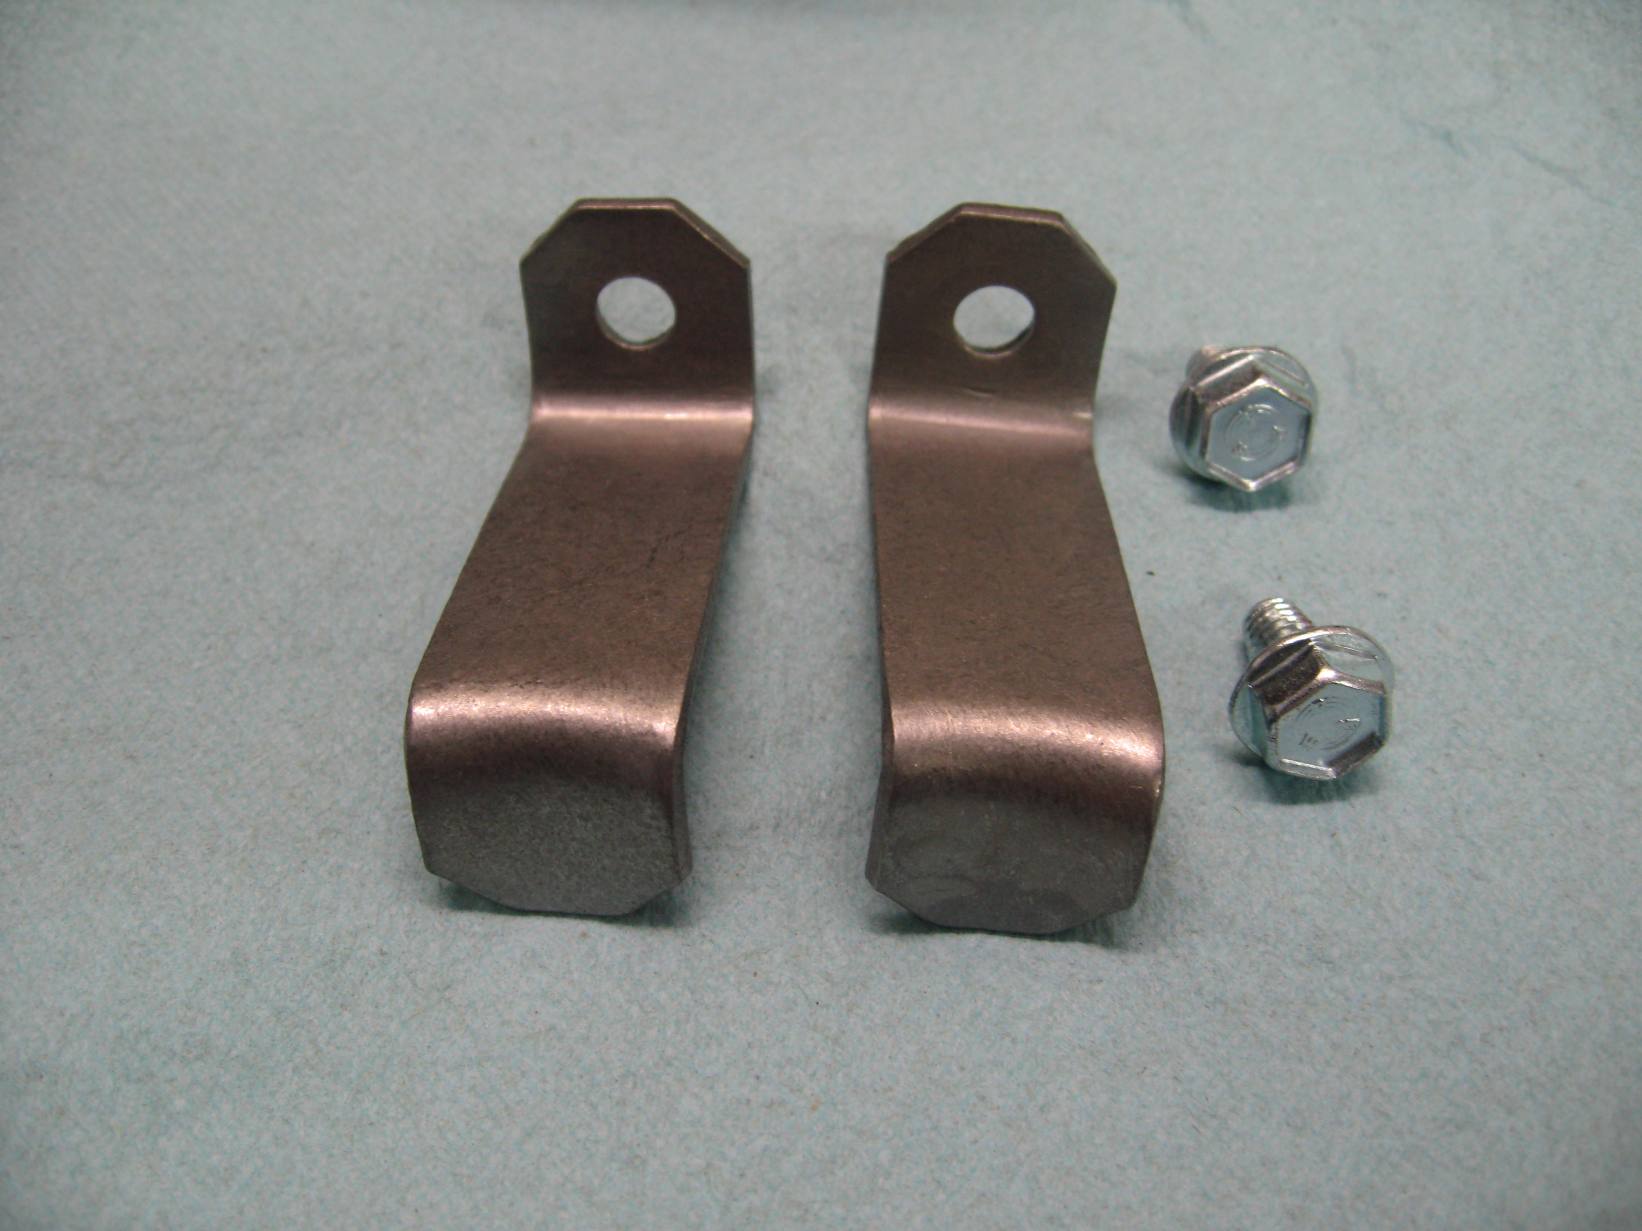
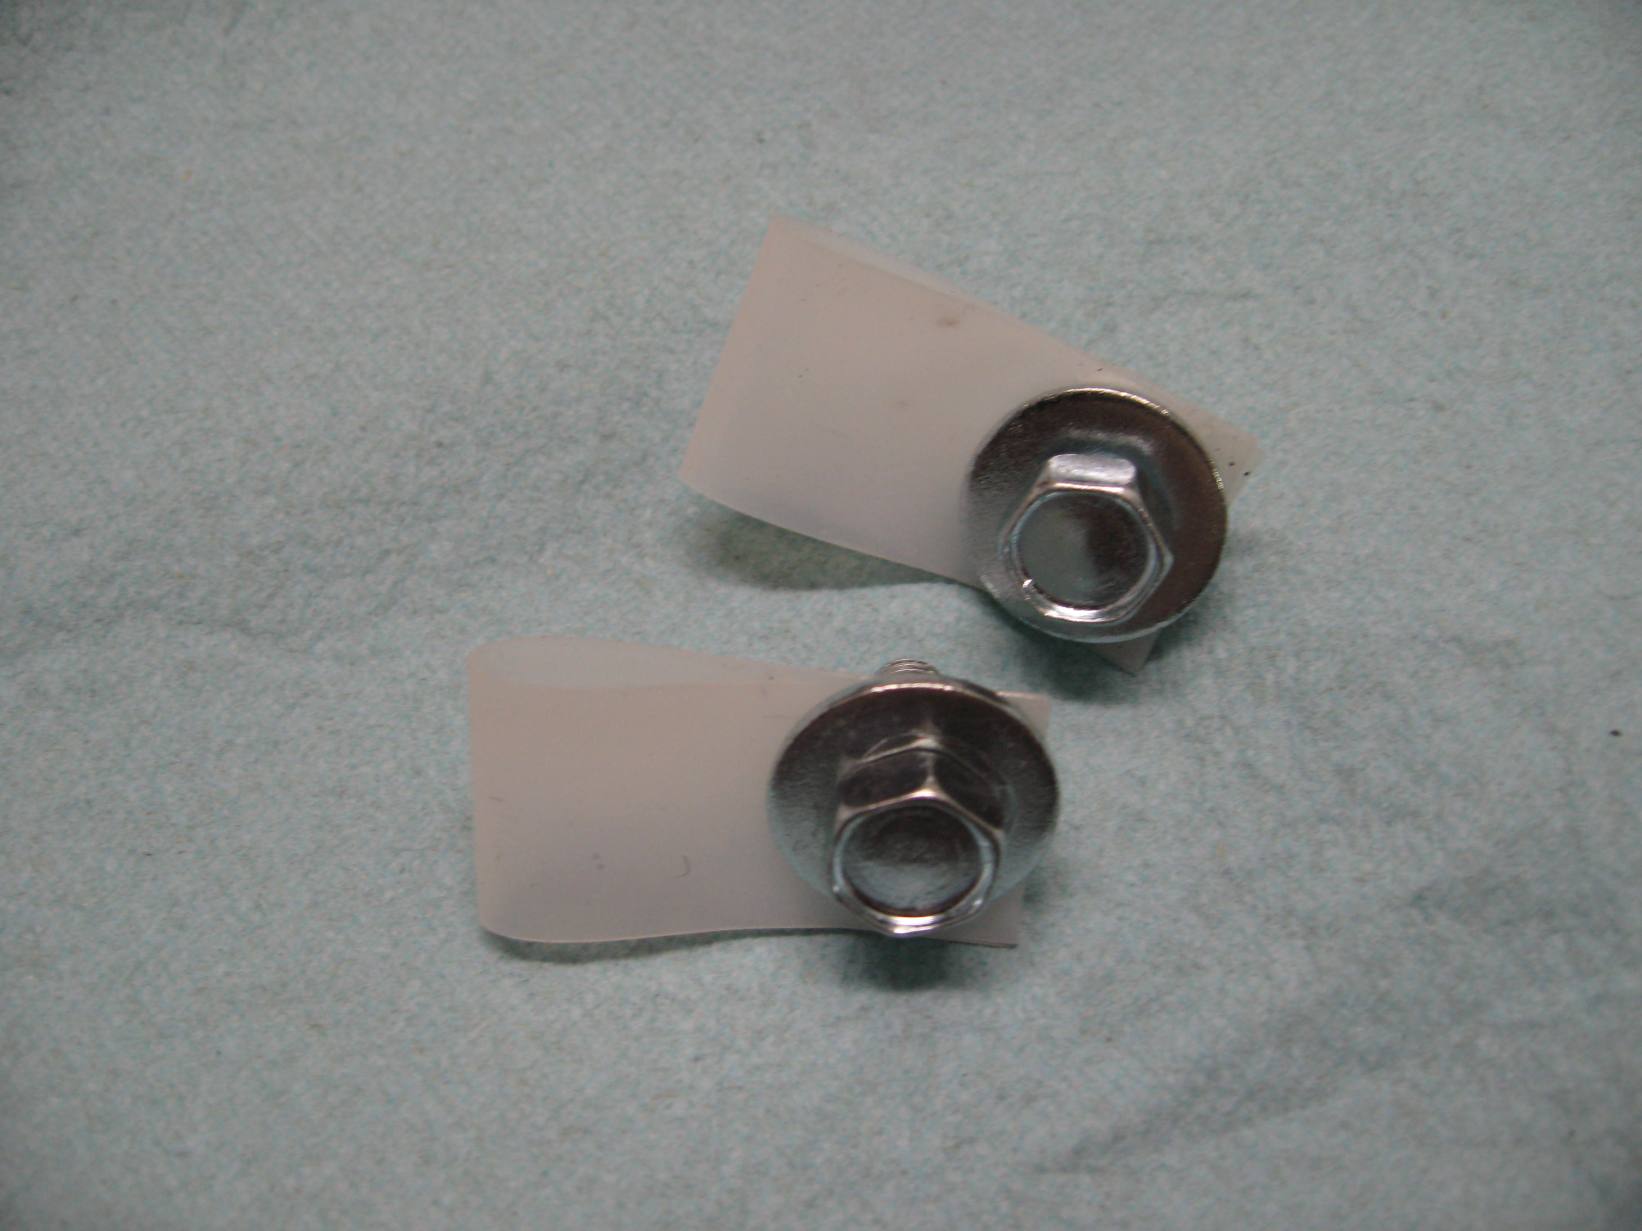
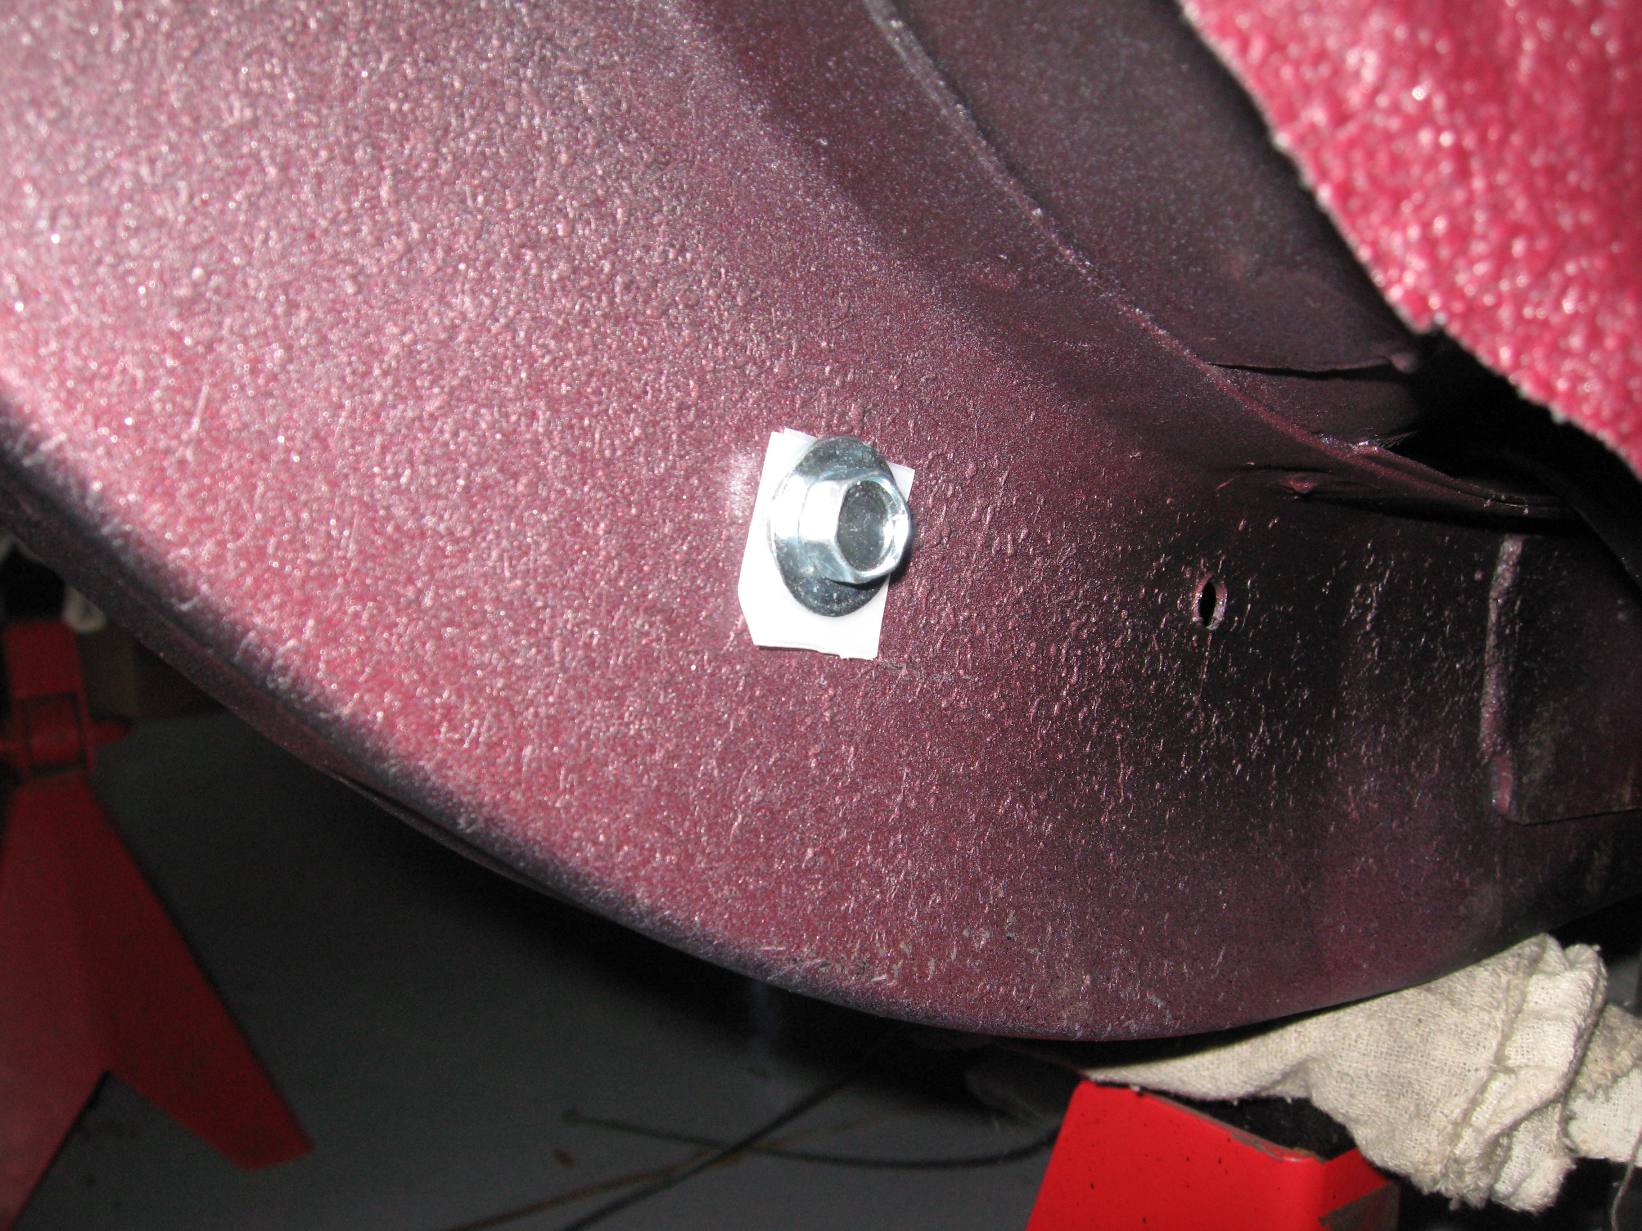
Another item I've been working on is restoring original parking brake cables and the retaining plates. I'll share some pics of the cables later, but here are the outer brackets. They were natural on this car and a little pitted. With a sanding disc and some time in the tumbler, was able to get them looking like new again. These are NOT painted. What you see in the pics is bare steel that I have treated with a rust preventative. Original fasteners were re-plated also. The plastic retainer straps were also replicated and installed. This was mainly a San Jose assembly plant detail.