Tuesday, May 26, 2009

5/25/09

Made good progress over the weekend with the fasteners. Pretty much have everything cleaned/stripped that is not phosphate/oil. Changed the media in the blast cabinet to medium grit glass bead. Spraying at about 60 psi and seems to do a real nice job of not etching the metal surfaces. It will barely take off any of the old cad/zinc plating, which is fine as the plating shop will get the rest of that off.

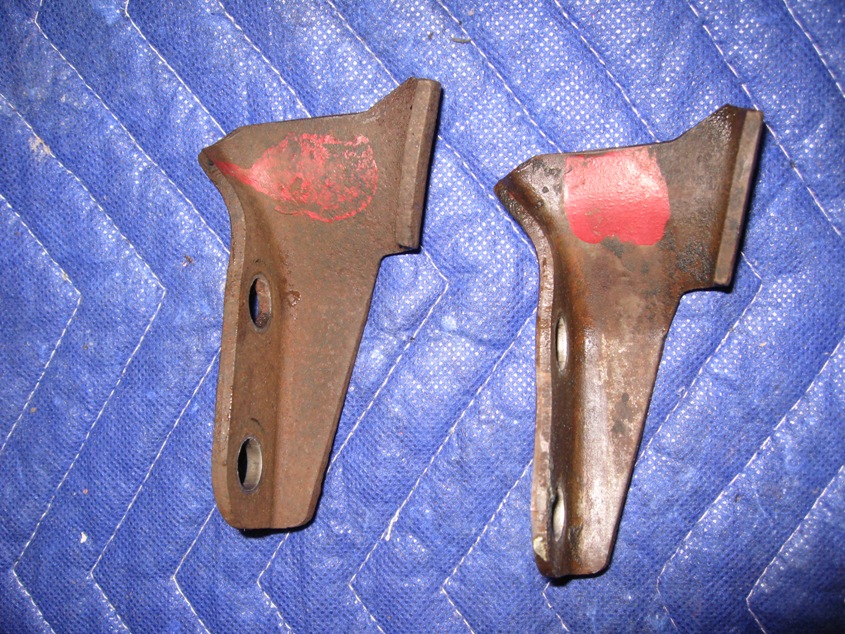
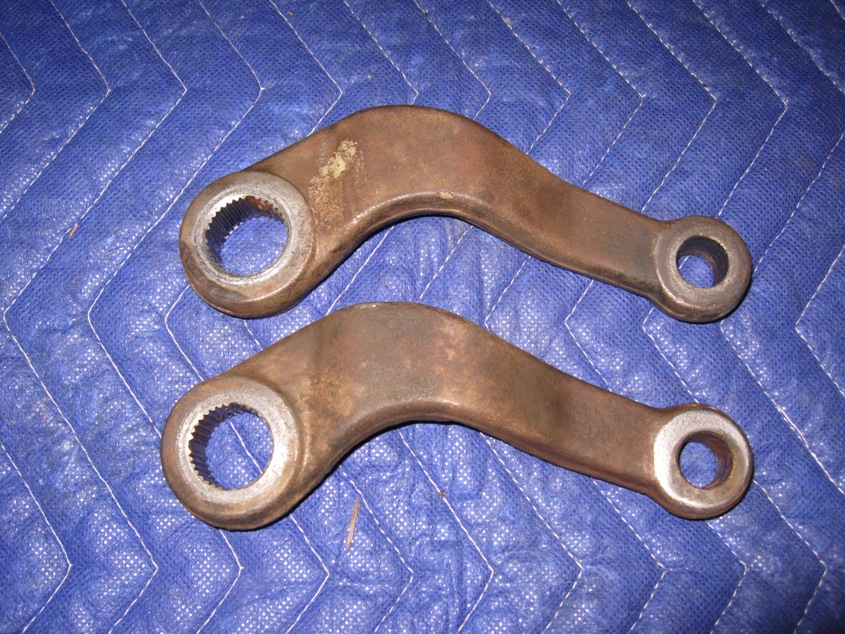
Snapped a few pics of misc parts. First is of a couple original pitman arms. The original from the K code and the one from the red V8 coupe. They are both in really nice condition. Paint marks were on one of them, appeared to be light blue and probably brown.


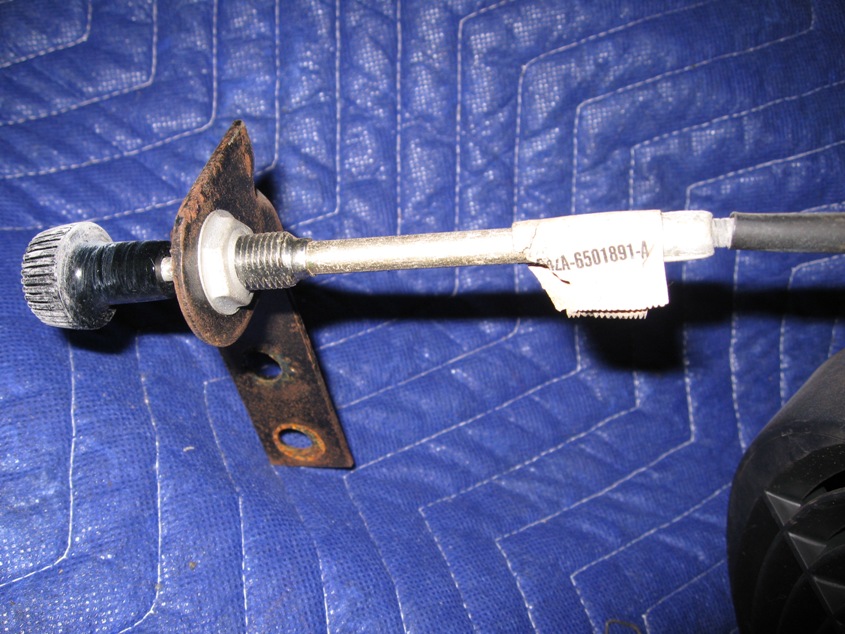
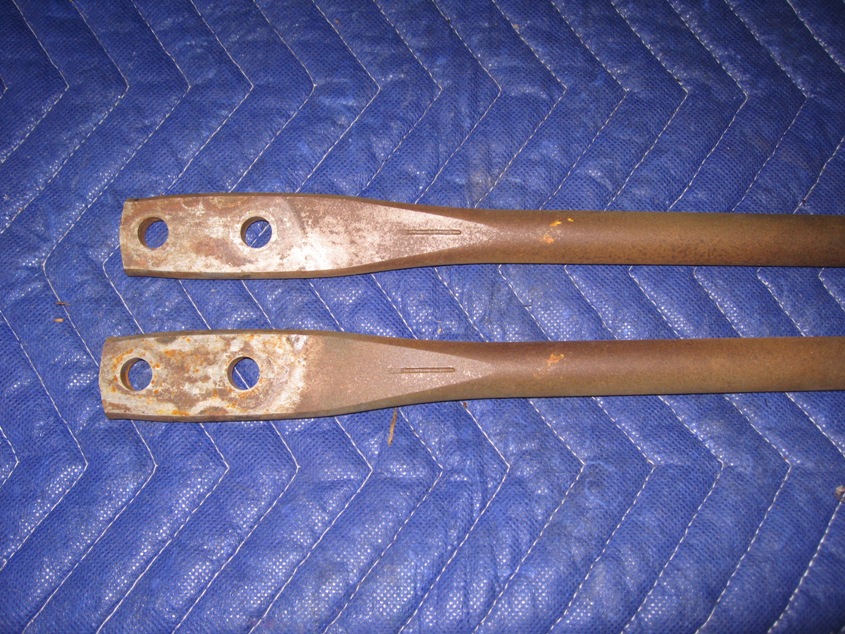
Next is the typical yellow paint daubs on the strut rods. The yellow daub let the assembly line worker know which way to install the strut rod. If you hold an original one out, they are not perfectly straight. The end that attaches to the control arm curves up. The yellow daub matches the side with the narrow raised "slit", which should be pointing down when installed. Have seen the yellow mark on other original strut rods, so this seemed to be something rather consistent. The Ford assembly manual actually makes note of the mark and what it means also.


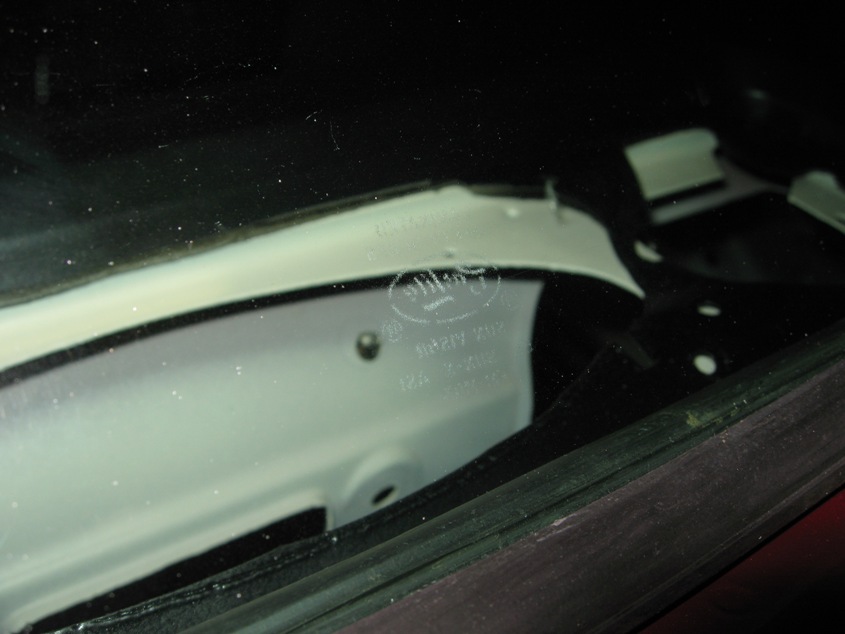
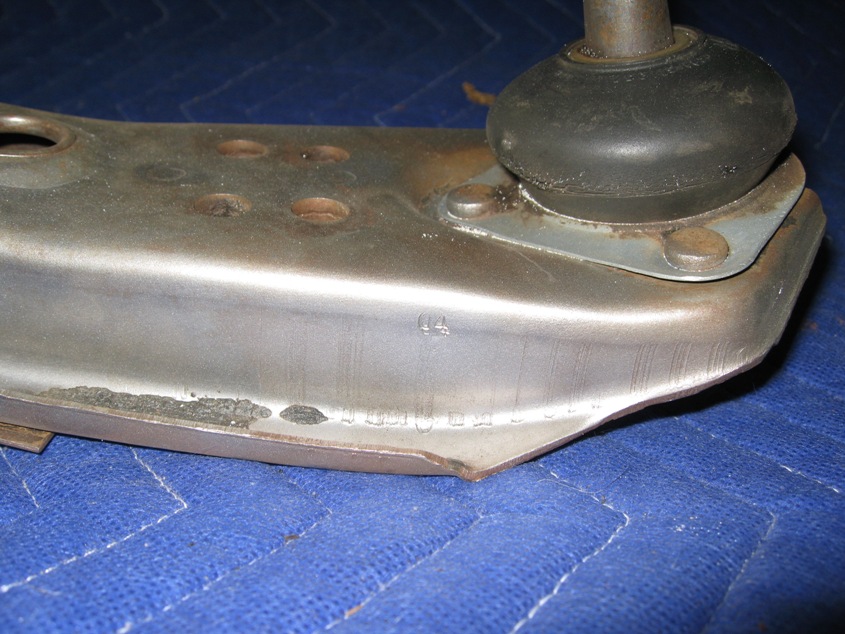
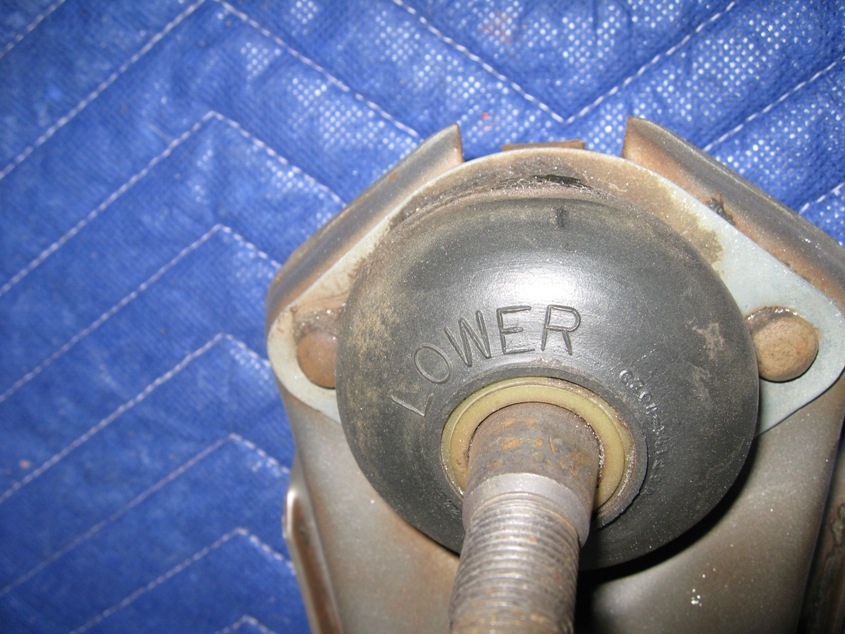
Next up is an original lower control arm. As can be seen, these were date stamped with month/year. The month letter is hard to make out on this LCA, possibly a G4. Second pic shows the original style ball joint boot.


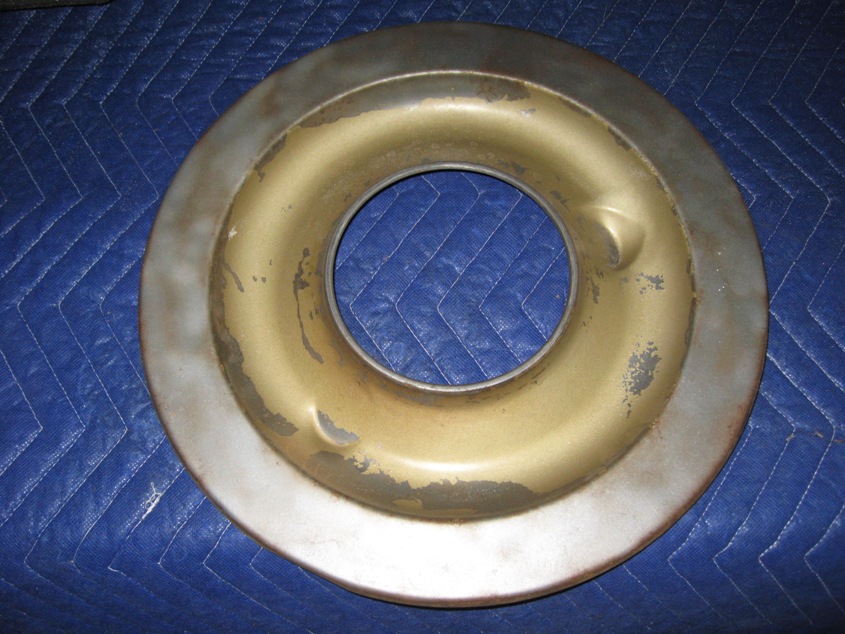
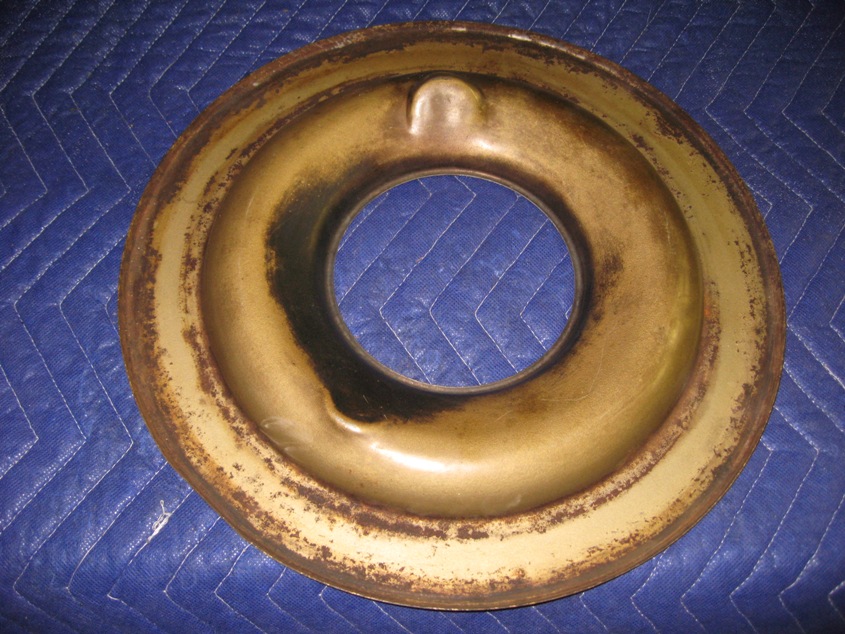
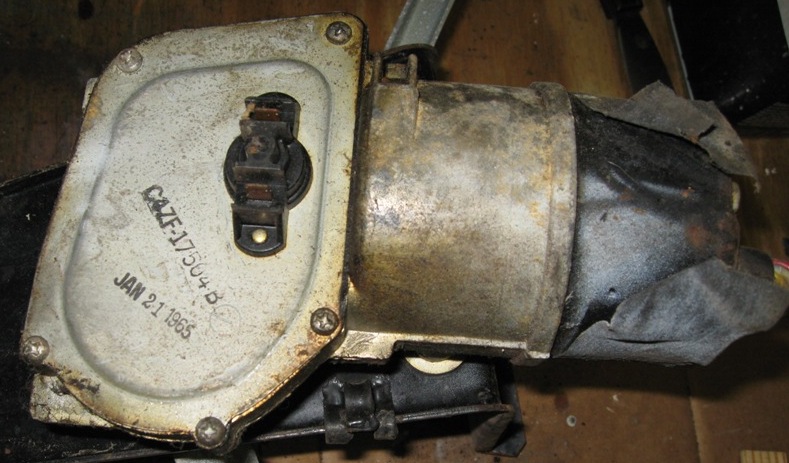
Last pic is an original hi-po air cleaner base. There are still a lot of unknowns when it comes to these. Mostly concerning date stamps and paint color. This one is from a January '65 build car and is most definitely the original. There is no date stamp on it and the original paint color is gold.


Sunday, May 17, 2009

5/17/09

Getting all the fasteners together has turned out to be a major undertaking. I guess I've made it worse than it could have been, mostly because I'm trying to gather and document as many original fasteners as possible. I have all the parts from the K convertible plus 2 complete coupes built within 2 weeks at the same assembly plant. The part that has been time-consuming is that I'm having to disassemble components and document everything as it comes apart. I'm keeping a book with bolt sizes, markings and where they were. I've found that there were very few bolt markings on San Jose cars that were the same as Metuchen/Dearborn. Other than the common 'HTS' body bolts, most everything else has a different head marking. The effort in getting all these original fasteners re-plated will make for a much more authentic restoration.

Few pics taken today. Got the original front suspension out from the K convertible, was pleased to find original date coded front drums, one was 4L20, the other 4L10. Have original date coded rears also. Found all original hardware and wheel cylinders on each side. Snapped a couple pics:


The front brake backing plates were in decent condition, found a double line mark near the adjuster hole on one of them. Have seen this before, so it is typical for at least San Jose cars. Original wheel cylinders had paint daubs, but could not make them out.


Cleaned the front spindles and strut rods. Will take pics of the spindles, they had typical paint markings. Strut rods had the normal yellow daub. The LH side steering stop had the typical red paint daub. I cleaned the one off the V8 coupe, same mark.

Monday, May 11, 2009

5/10/09

Still culling through fasteners. Decided to finish taking apart the red coupe at the house and "harvest" the fasteners off of it too. It will be nice to have several of the same fasteners to choose from. It also helps to reinforce what I've found on the K code and the other coupe. Yes, had 2 parts coupes that were complete running/driving cars to use for parts needed on the K code. One was a 26A scheduled date, the other 04B from San Jose (as noted above, K code had a 10B scheduled date.) It's really neat when you start to see patterns between the 3 and it helps answer a lot of questions. The 26A coupe was stripped about a year ago, so I already have everything off of it. The engine/trans are left in the 04B coupe, everything else off. Plan to use the original fuel line from that coupe and if I can figure out a way to restore it, it has a super nice original gas tank.

Not really any pictures to share at this point. Have a couple evening obligations this week. Main focus is getting all the fasteners cleaned. Anyone want to come over and stand in front of the blasting cabinet for a few hours? :-)

Thursday, May 7, 2009

5/6/09

The fastener boxes are brim full, guess I'll be standing in front of the blast cabinet for a couple days! In the meantime, snapped a few pics of the wiper motor. This is the 2-speed version, so it's a little different in how the wires hook-up. Appears to have been black cloth tape holding the wires up. Neat ink-stamp on the top of Jan 21, 1965. Fits pretty well with a Feb 10th scheduled car.


Last item to share is the power top motor bracket that attaches to the body. San Jose painted them black, have seen them body color on Dearborn cars.

Wednesday, May 6, 2009

5/5/09

Well, I'm still bogged down in fasteners right now. I have everything from all the bins separated out, including the fasteners from the first parts car. I'll need to finish disassembling the second coupe parts car to get another set of fasteners. Most of that car is already apart, just need to pull the motor/trans and then drop the suspension.

Have a few items to share... First is the shock caps in the engine bay. There are some puddle/run areas on them which would indicate they were possibly dipped in paint. Also, it is interesting to note that if you put one cap over the other, you can see that they were stacked on top of each other before they dried as there are rub marks on the bottom. Talk about opening up a can of worms on taking restoration work to a whole new level! Anyone want to do a study on how parts on a Mustang were packed and then transported to the assembly plant?! :-)


Next up is the fresh air vent on the driver side. Nothing much out of the ordinary here. The cable has a nice original part tag on it. Don't recall ever seeing one on a Dearborn or Metuchen car. There's a square piece of tape on the vent assembly. Not sure of the purpose, maybe padding for wiring that gets close. The shaft for the duct was a reddish plating. Fuse holder is some kind of blackish plating with a slight rainbow effect.


Last item to share is the rear axle fresh air vent fitting. Not much exciting here except the original crimp clamp is in nice condition. I was able to save it and spread it back out a little. Will get it re-plated and re-install it. The tooth washer is correct for the application.

Monday, May 4, 2009

5/3/09

More of the same, going through all the bins and pulling out fasteners. Hope to get everything to the plating shop by the end of the week. Have one here locally that has pretty quick turnaround.

Decided to go ahead and install the windshield. It's an extremely nice original with a 5A date. NOS Ford gasket used, slipped right on.

Boy that camera flash sure does some funky stuff with the exterior color!


Sunday, May 3, 2009

5/2/09

Still culling through all the fasteners and separating everything out. Writing down head markings/types/sizes in a log book. Should help when everything comes back from the plating shop.


Couple noteworthy items from going through parts bags looking for fasteners:

First is the early-style clutch rod seal that attaches to the firewall. The K convertible had the felt style as opposed to the later rubber boot. The original is in usable condition. Will be a nice item to point out.


Second is the rear quarter glass stop. The type with the slide-in J clip must have been the first solution to prevent the glass frame from going down to far. Later cars had a metal frame with a rubber stop that was bolted onto the slide frame. Not sure exactly when this switch occurred, probably sometime around April/June of '65.

Saturday, May 2, 2009

5/1/09

Spent most of the day going through all the bags of fasteners and culling everything out for plating. I realized that I am somewhat held up until I can get a good stock of original fasteners plated and ready to use. There's a place locally here in Raleigh that does a good job, should be able to get everything done rather quickly.

Not sure how many folks have gone through the trouble of re-plating fasteners, but as a tip, all lock washers and locking nuts were usually cadmium (S7) plated while just about all other silver-plated parts would have been zinc (S8). Zinc plating caused a slight brittleness to the piece, so anything that might curve or be under more stress would need to be something else. Zinc and Cad nearly look the same, Cad has more of a soft-silver finish though. Cad costs more to re-plate also.

In cleaning up bolts and nuts, I found a red paint mark on one of the upper control arm lock nuts. Not sure that I have ever seen this before. I have another car in the drive way built about the same time as the K convertible, so will have to check if there are marks on that car. Usually, any red checks or marks would indicate that a part had been torqued properly.


Otherwise, I removed the wire and socket from one of the original parking light assemblies I had. The Ford replacement assemblies usually never have the correct color wiring. Wasn't too hard to remove the socket, just use long needle-nose tip pliers to bend the flanges back and then pop it out. The wires cleaned up real nice. I'll be transferring this wire harness to an NOS parking light chrome housing.


Friday, May 1, 2009

4/30/09

More wiring progress made. Rear harness was cleaned up, detailed and installed. It's a perfect condition original, no breaks in the cloth braid covering at all. Has the correct green FoMoCo tape tag on the RH side which is correct for a '65 coupe or convertible. Main harness was cleaned and laid in the car, also a mint original piece. Last 2 digits of rotation number written on the side of the fuse box. Got the firewall pad out and laid it up in the car, but need to find the console wiring before the pad can be completely installed. San Jose cars built at this time had a "dotted" firewall pad as opposed to Dearborn/Metuchen, which had a textured appearance that looks like undercoating.